Water is life, isn’t it? That’s why we always ensure it’s clean, right? And what better way to ensure clean drinking water on-the-go than with a Brita water bottle? It’s incredibly handy, but just like everything else we use daily, it needs proper care. So, how do you go about cleaning your Brita water bottle?
In this article, we’ll walk you through a simple, step-by-step guide on how to wash your Brita water bottle. This process, when done correctly, not only enhances the lifespan of your bottle but also ensures you’re drinking clean, healthy water every day. Remember, a clean bottle equals clean water.
Let’s make your Brita water bottle cleaning routine a breeze, shall we?
Note: If you have the Brita water bottle with a built-in filter, it’s important to know that the cleaning process is a bit different. You don’t want to damage your filter in the process, right?
Washing your Brita Water Bottle: A Beginner’s Guide
Keeping your Brita Water Bottle clean is essential for maintaining the quality of your drinking water. Not sure where to start? Don’t worry! Follow these simple steps to ensure your Brita Water Bottle is squeaky clean, inside and out.
Step 1: Disassemble the Bottle
First things first, you need to disassemble your Brita Water Bottle. This means removing the filter, the lid, and any other detachable parts. Why, you ask? Because each part needs to be cleaned separately to ensure thorough cleaning.
Step 2: Wash the Parts Individually
Now that your bottle is disassembled, it’s time to wash each part separately. This is a crucial step, as it ensures each part is adequately cleaned.
- For the bottle and lid: Wash them with warm soapy water.
- For the filter: Rinse it under cold tap water for about 15 seconds.
Step 3: Rinse and Dry
Once all the parts are cleaned, rinse them thoroughly. Remember, you want to remove all soap residues to keep your water tasting fresh. After rinsing, allow the parts to air-dry completely before reassembling. Why is drying important? Because it prevents the growth of bacteria and mold.
Step 4: Reassemble and Fill
Now that your Brita Water Bottle parts are clean and dry, it’s time to put them back together. Once reassembled, fill the bottle with cold tap water. And voila! Your Brita Water Bottle is clean, fresh, and ready to provide you with purified water on-the-go.
Remember, regular cleaning is the key to ensuring the longevity of your Brita Water Bottle and the quality of the water it provides. So, make it a habit to clean your bottle after every use. Happy hydrating!
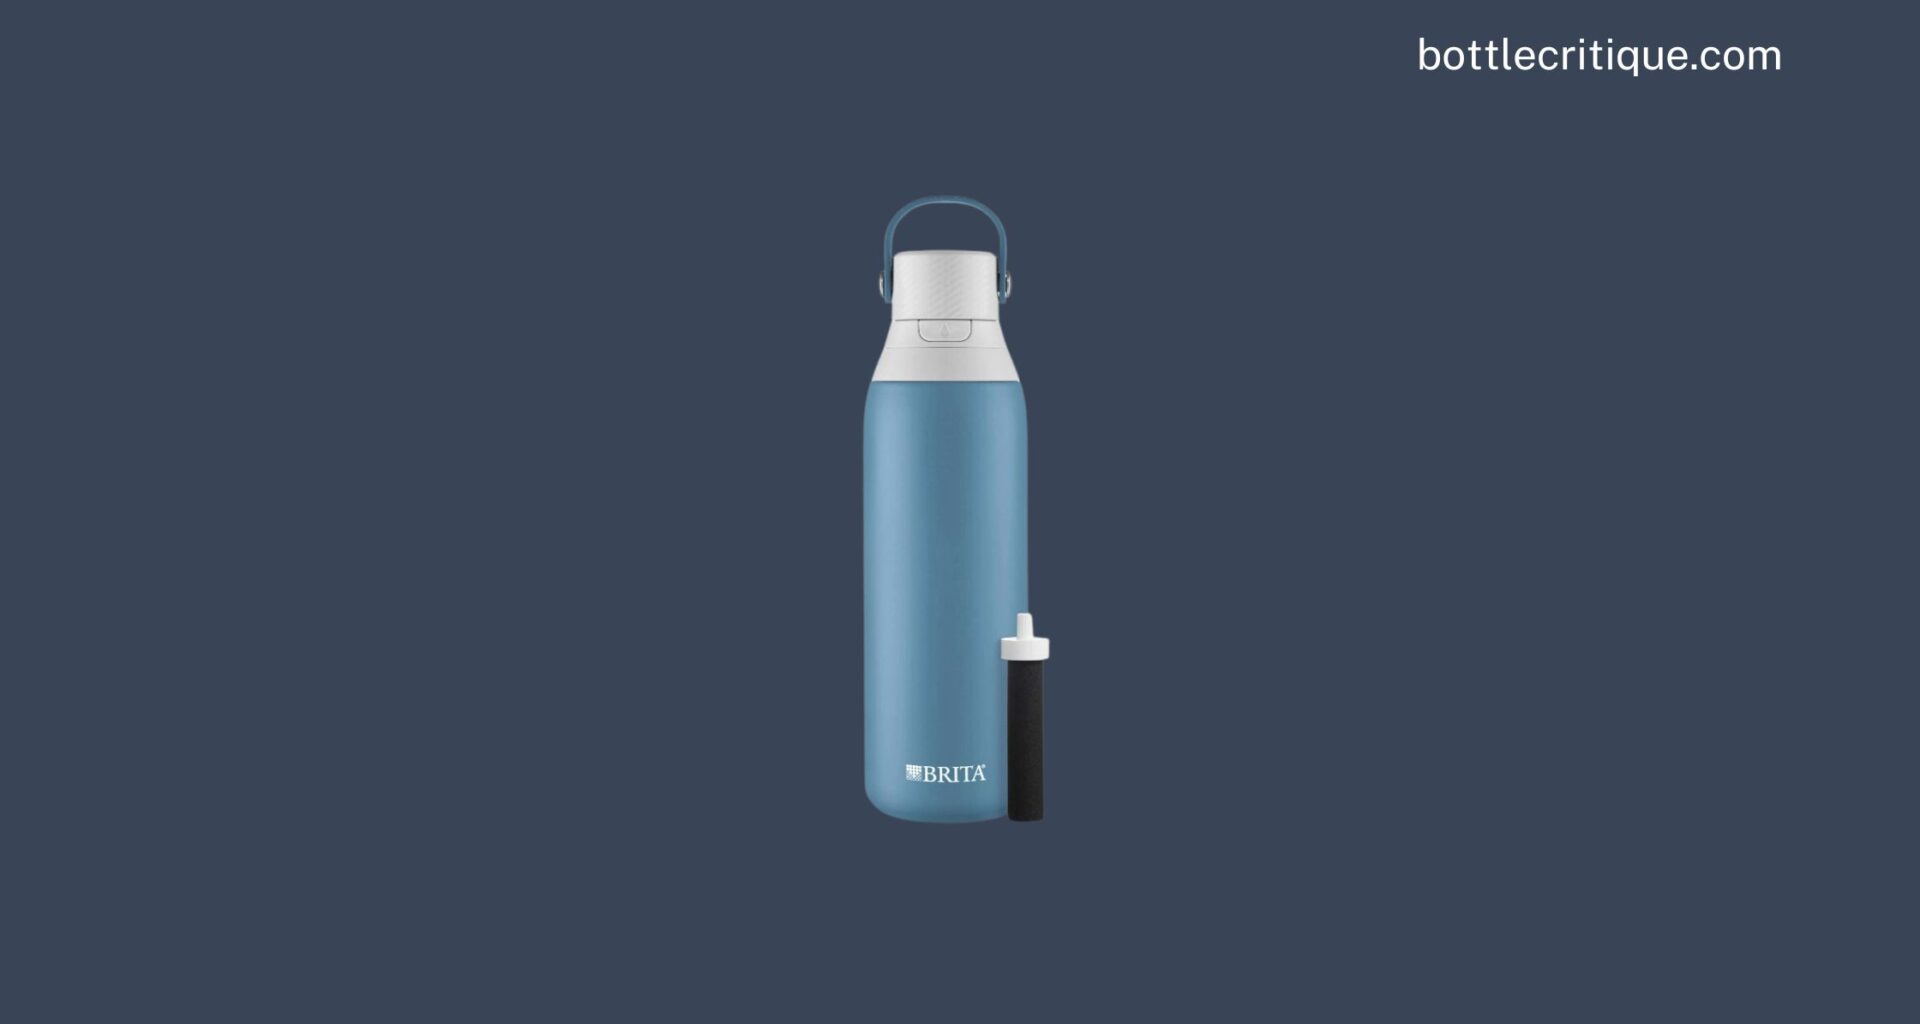
Get to Know Your Brita Water Bottle: Understanding the Parts
Let’s get you familiar with your Brita water bottle. Understanding its components not only enables efficient cleaning but also extends the lifespan of your bottle. So, what makes up your Brita water bottle?
The Body
The body of the Brita water bottle is the main section that holds your water. It’s normally made of BPA-free plastic, which is not only good for your health but also for the environment.
The Lid
The lid is the top-part of your Brita water bottle. It’s designed to keep your water sealed in when you’re not drinking, ensuring no spillage occurs.
The Straw
This is the part you use to drink your water. The straw is made from plastic and connects to the lid of your Brita water bottle.
The Filter
One of the key features of your Brita water bottle is the filter. Located in the straw, this part filters out impurities as you drink, ensuring that your water is clean and tastes great.
Now that you’re familiar with the parts of your Brita water bottle, let’s dive into how to clean them, shall we?
Preparation is Key: What You Need Before Washing Your Brita Water Bottle
Before you start washing your Brita water bottle, you’ll need to gather a few cleaning tools. Ensuring you have the right materials on hand will make the process smoother and more effective. Proper preparation also protects your water bottle from any potential damage during the cleaning process.
Here’s what you’ll need:
- Mild Dish Soap: This is used to thoroughly clean the insides of the bottle. It’s safe for consumption and won’t leave any harmful residue behind.
- Warm Water: Warm water can help to loosen any stubborn debris or buildup inside the bottle.
- Soft Cloth or Sponge: You’ll use this to gently scrub the bottle. It’s crucial to use a soft material to avoid scratching the surface.
- Vinegar (optional): This is a great natural disinfectant if you want to give your bottle an extra deep clean. Remember, it’s optional!
- Bottle Brush: This is especially handy for reaching those hard-to-clean spots towards the bottom of the bottle.
Got everything? Great! Now, you’re all set to give your Brita water bottle the deep clean it deserves. Remember, a clean bottle means cleaner, fresher tasting water. So let’s get started, shall we?
The Do’s and Don’ts of Washing Your Brita Water Bottle
When it comes to washing your Brita water bottle, there are certain things you should do and things you ought to avoid to keep your bottle in top shape. Here’s a quick and easy guide to help you out.
Do’s
- Do wash your Brita water bottle after every use. This helps to keep it clean and free of bacteria build-up.
- Do use warm soapy water to clean the bottle. Warm water helps to effectively break down any residue or build-up inside the bottle.
- Do rinse thoroughly after washing. This ensures that no soap or cleaning residue is left in the bottle.
- Do let the bottle air dry completely before storing it away. This prevents the growth of bacteria and mold.
Don’ts
- Don’t use hot water to wash the Brita water bottle. Hot water can warp and damage the plastic components.
- Don’t leave the bottle in a closed, damp space after washing. This can lead to bacterial and mold growth.
- Don’t use abrasive cleaners or scrubbing tools that can scratch the bottle.
- Don’t put the Brita water bottle in the dishwasher unless the manufacturer’s instructions specifically state that it is dishwasher safe.
Remember, taking care of your Brita water bottle is not just about maintaining its appearance. It’s also about ensuring you always have clean, safe water to drink. So, are you ready to give your bottle the care it deserves?
Step-by-Step Guide: How to Properly Wash Your Brita Water Bottle
Washing your Brita water bottle is a task that should be undertaken regularly to ensure you’re drinking clean, fresh water each time you fill up. So, how can you effectively handle this? Let’s break it down:
Materials Needed
- Mild dish soap: This will be the primary agent for cleaning your bottle.
- Warm water: Warm water aids in breaking down residue and lifting dirt.
- Soft brush: A soft-bristle brush is necessary to scrub the interior of the bottle without scratching it.
Steps to Wash Your Brita Water Bottle
- Disassemble Your Bottle: Remove the filter and any other detachable pieces from your bottle. This allows you to clean each part thoroughly.
- Prepare Your Cleaning Solution: Mix a few drops of mild dish soap with warm water.
- Scrub the Inside of the Bottle: Using your soft brush, scrub the inside of the bottle with the soapy solution.
- Rinse Thoroughly: Rinse the bottle with clean water, making sure all soap residues are washed off.
- Dry the Bottle: Allow the bottle to air dry completely before reassembling it.
By following these simple steps, you can ensure your Brita water bottle is clean and ready for your next hydration session. Remember, cleanliness is crucial for maintaining the quality of the water you drink.
Note: It is advisable to clean your Brita water bottle every day if you use it regularly. If not, cleaning it at least once a week should suffice.
Cleaning the Lid and Straw: Tips and Tricks
Keeping the lid and straw of your Brita water bottle clean is crucial not just for hygiene, but also for the overall functionality and longevity of your bottle. Let’s dive into some helpful tips and tricks to make the cleaning process easier and more efficient.
Hand Washing the Lid
Start your cleaning process by focusing on the lid. Remember, it’s not dishwasher safe, so hand washing is the way to go. Here’s how:
- First, detach the lid from the bottle.
- Next, rinse the lid under warm running water.
- Use a mild dish soap and a soft sponge to gently scrub the lid.
- Rinse thoroughly, ensuring no soap residue remains.
- Finally, dry the lid with a clean towel or allow it to air dry.
Deep Cleaning the Straw
The straw can be a bit trickier to clean due to its slender design. But no worries, here’s a step by step guide:
- Begin by removing the straw from the lid.
- Then, use a dedicated straw brush to scrub inside and outside of the straw.
- If you don’t have a straw brush, a pipe cleaner can also do the job.
- After scrubbing, rinse the straw under warm running water.
- Finally, allow the straw to air dry completely before re-attaching it to the lid.
Note: Regular cleaning of your Brita water bottle’s lid and straw not only keeps them hygiene but also helps to prolong their lifespan.
Now you’re equipped with the knowledge you need to keep your Brita water bottle lid and straw clean. Practice these steps regularly and enjoy the fresh taste of your water every time.
Drying Your Brita Water Bottle: The Final Step
Now that you’ve successfully cleaned your Brita water bottle, the final step is to dry it properly. This is just as important as the cleaning itself, because if left damp, your bottle could become a breeding ground for bacteria. So, how do you ensure it’s completely dry?
- Manual Drying: You can start by drying the bottle manually. Use a clean, dry towel to wipe the interior and exterior parts of your Brita water bottle. Make sure to reach the bottom and all the corners.
- Air Drying: After wiping it down, let it air dry. Place the bottle and its parts upside down on a dish rack or towel. Make sure it’s in a well-ventilated area away from direct sunlight. This ensures that every drop of water evaporates so no moisture is left inside.
- Reassembly: Once all parts are completely dry, reassemble the bottle. Remember, do not rush this step; only put the bottle back together when you’re sure all parts are dry.
Properly drying your Brita water bottle is crucial to maintain its longevity and performance. Not only this, but it also ensures that your water stays fresh and free from unwanted bacteria. So, don’t skip this step, okay?
Remember, a well-dried Brita water bottle is a happy Brita water bottle. It’s all worth the extra effort to keep your hydration companion in tip-top shape!
Maintenance Tips: How to Keep Your Brita Water Bottle Clean and Fresh
Keeping your Brita water bottle clean and fresh is an essential part of maintenance. Not only does cleanliness impact the bottle’s longevity, but it also ensures that the water you drink is safe and uncontaminated. Allow me to guide you through some simple steps to help you maintain your Brita water bottle.
Regular Cleaning
Regular cleaning is the cornerstone of bottle maintenance. It’s recommended to clean your Brita water bottle after every use, or at least once a day. Here’s a simple step-by-step process:
- Disassemble: Take apart the bottle, including the cap, filter, and straw if it has one.
- Rinse: Rinse each part with warm water.
- Wash: Use a mild detergent to gently scrub each part. Avoid using abrasive cleaners.
- Rinse Again: Rinse thoroughly to remove any soap residues.
- Dry: Allow each part to air dry completely before reassembling. This helps prevent the growth of bacteria and mold.
Deep Cleaning
Over time, your water bottle might need a deep clean to remove stubborn stains and odors. This should be done at least once a month. Here’s how:
- Prepare a Solution: Mix 1 tablespoon of baking soda with 1 cup of vinegar in a bowl.
- Soak: Disassemble the bottle and soak each part in the solution for about 20 minutes.
- Scrub: Use a bottle brush to scrub each part, paying special attention to hard-to-reach areas.
- Rinse and Dry: Rinse each part with warm water and let them air dry completely before reassembling.
Remember, the filter should not be cleaned with soap or placed in the dishwasher. It should be replaced every two months or 40 gallons, whichever comes first.
Storage
Proper storage can also help extend the life of your Brita water bottle. Here are some tips:
- Always store the bottle with the cap off to allow the inside to dry thoroughly.
- Keep the bottle in a cool, dry place.
- Avoid storing the bottle in direct sunlight, as it can degrade the plastic over time.
With these simple steps, your Brita water bottle should stay clean, fresh, and ready to provide you with pure, great-tasting water whenever you need it!
Frequently Asked Questions: Common Concerns About Washing Your Brita Water Bottle
Many of you have shared common questions and concerns about washing your Brita water bottle. We’ve listened and compiled some helpful responses to ensure your bottle stays clean and refreshing for every use.
Is my Brita water bottle dishwasher safe?
Yes. Brita water bottles are designed to be dishwasher safe. However, to maintain the longevity of your bottle, it’s best to place it on the top rack and avoid high-temperature settings. The filter, on the other hand, should be removed and cleaned separately.
How often should I wash my Brita water bottle?
For optimal hygiene and taste, it’s recommended to wash your Brita water bottle after every use. If you’re using it less frequently, aim to clean it at least once a week.
Can I use bleach or other strong cleaners on my Brita water bottle?
It’s best to avoid these. Strong chemicals like bleach can leave harmful residues and might alter the taste of your water. Instead, a mild dish soap and warm water should do the trick.
What should I do if my Brita water bottle has a bad odor?
Occasionally, your Brita water bottle may develop an unpleasant smell. This usually results from bacteria buildup. Soaking the bottle in a mixture of vinegar and water for 15 minutes, then thoroughly rinsing it should help eliminate the odor.
How do I clean the filter?
Your Brita water bottle’s filter needs special care. Here’s a simple step-by-step guide:
- Remove the filter from the bottle.
- Rinse it under cold tap water for about 15 seconds.
- Gently shake it to remove any residual water.
- Allow it to air-dry before placing it back into the bottle.
Remember, regular cleaning not only keeps your Brita water bottle hygienic, but also ensures you’re always savoring the clean, fresh taste of filtered water. Happy hydrating!
Conclusion: Why Properly Washing Your Brita Water Bottle Matters
In conclusion, washing your Brita water bottle properly is not just about maintaining cleanliness. It’s also about ensuring your health and the longevity of your bottle.
Let’s take a moment to recap why this really matters:
- Health: When not cleaned regularly and correctly, your water bottle can become a breeding ground for bacteria and mold. Consuming water from a contaminated bottle can lead to health issues, such as food poisoning and stomach upset.
- Longevity: Brita water bottles are designed to last. But if you don’t clean them adequately or as recommended, their lifespan can significantly reduce. Proper cleaning helps maintain the bottle’s integrity and functionality over time.
- Taste: If your Brita water bottle isn’t well cleaned, residues and bacteria can affect the taste of your water. Proper cleaning ensures that your water always tastes fresh and pure, just as it should.
Remember, washing your Brita water bottle is a small but essential step in your health and wellness routine. So, why skip it? With the simple steps provided, your bottle will always be clean, your water fresh, and your health uncompromised.
‘Health is wealth’ – it’s not just a saying, it’s a fact. And sometimes, maintaining your health can be as simple as cleaning your water bottle. Do it right, do it often.
Take Home Message
So, are you ready to give your Brita water bottle the cleaning it deserves? Remember, it’s not just about the water you drink, but also the container that holds it. Start today, for a healthier tomorrow!
