Ever popped open a water bottle to find it less than fresh? Or perhaps you’re conscious about reducing your plastic waste and wish to reuse your water bottle. Either way, you’re in the right place. Resealing a water bottle might sound like a magician’s trick but fear not, we’re about to spill the secrets.
“Resealing a water bottle is not just eco-friendly, it’s also a fun and simple DIY project.”
In this playful, yet professional guide, we’ll dive into the simple steps of resealing that water bottle and ensuring your drink stays as fresh as a morning dew. So grab that bottle, pull up your sleeves, and let’s make some magic happen!
Why Resealing Your Water Bottle is Important for Your Health
Hey there, Health Hero! Did you know that the simple act of resealing your water bottle could be your secret weapon in the fight against unwelcome germs and bacteria? That’s right! It’s a small but mighty step towards better health.
Every time you sip, swig or slurp from your water bottle, you’re leaving behind traces of saliva. Yikes! This can create a cozy, moist environment where bacteria love to hang out and multiply. Resealing your water bottle is like shutting the door on these uninvited party-crashers.
But wait, it gets even more important if you’re sharing your bottle with someone else. Double yikes! You wouldn’t share your toothbrush, would you? So why would you share a bacteria breeding ground?
Remember: Reseal to repel!
Now, I’m not saying you need to become a bottle-sealing fanatic, but a little consciousness can go a long way in preventing unwanted bugs from setting up camp. So, next time you hydrate, remember to seal that lid tight and keep the germs on the outside, where they belong.
Pro-tip: Keep it clean!
Alongside resealing, make sure to clean your water bottle regularly – daily if you can. And don’t worry, it’s not a big ordeal. A simple scrub with warm soapy water will do the trick. Together, these two habits can form the dynamic duo of disease prevention.
So there you have it! A brief journey into the world of water bottle hygiene. And remember, each time you reseal that bottle, you’re taking a stand for your health. Cheers to that!
How to Check if Your Water Bottle Needs Resealing
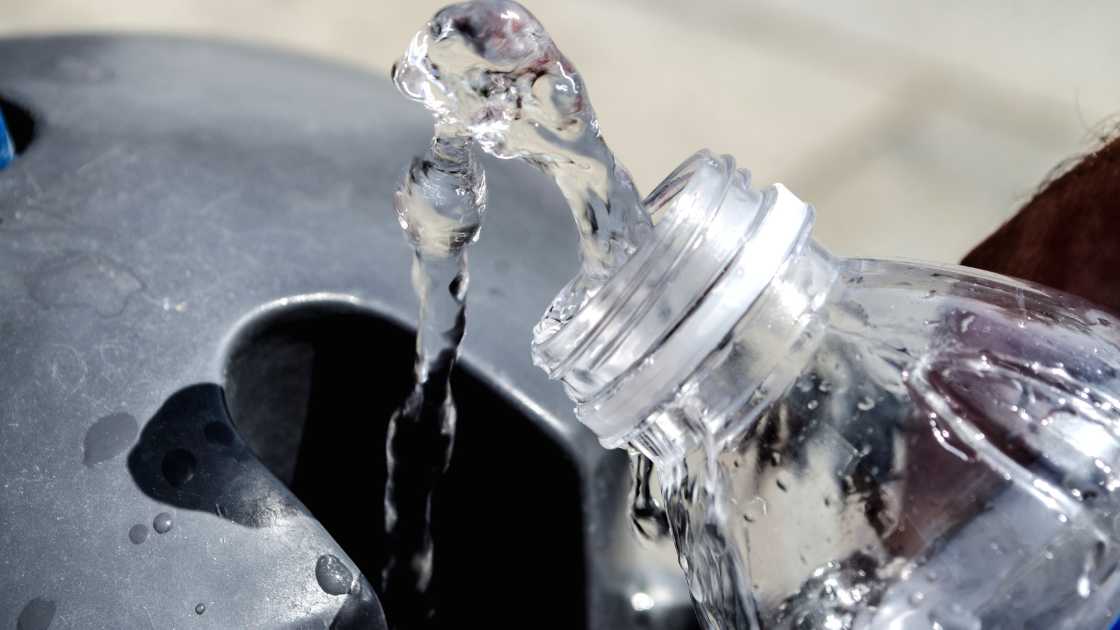
How many of us have tipped our precious water bottles, full of our favorite hydration elixir, only to have it leak all over our gym bag, ruin our favorite book, or spill all over our laptop? You’re not alone. Let’s tackle this common issue head on and prevent future hydration disasters.
Firstly, let’s learn how to identify if your water bottle needs a little TLC, aka a resealing.
- Give the bottle a good once-over. Look for any visible signs of damage on the lid or the seal. Cracks, chips, or significant wear could be the culprit of your leakage problem.
- Next, perform the ‘Shake Test’. Fill your bottle with water, tightly secure the lid, and give it a vigorous shake. If you come away looking like you just ran a marathon (or at least, sweated like you did), your bottle clearly needs resealing.
- Lastly, consider the age of your bottle. If it’s been your trusty hydration companion for several years, the seal may have simply worn out over time. It might be time to give it a fresh seal and a new lease on life.
Identifying whether your bottle needs resealing is the first step to reclaiming your dry gym bag and saving your electronics from any more surprise showers!
Tools You’ll Need to Reseal Your Water Bottle
Ever wondered what you need in your toolkit to reseal a water bottle? Well, let’s dive right into the nitty-gritty details! Simply gather these handy tools and you’re all set to embark on your water bottle resealing journey.
- Water Bottle: Well, obviously you need a bottle to reseal. Make sure it’s clean and dry, folks!
- Sealing Material: Silicone sealant or food-grade epoxy works wonders for this task. Choose your champion!
- Applicator: A small brush or applicator tool to apply the sealant. You wouldn’t want to get your hands messy, would you?
- Safety Gear: Don’t forget to gear up with gloves and eyewear before starting. Safety first!
Now that you’ve got your tools, let’s put them to good use. Remember, resealing a water bottle isn’t rocket science! It’s all about being patient, taking your time, and following the steps closely. So, ready to seal the deal?
Preparing Your Water Bottle for Resealing
Well, hello there, bottle enthusiasts! Today, we’re embarking on a little adventure known as, “Resealing 101”. There’s no need for sweaty palms or racing hearts. It’s as easy as pie, trust me. The first thing we’re going to tackle is preparing your water bottle for resealing. Buckle up!
Now, before we dive in, let’s make sure we have our handy-dandy water bottle ready for action. You’ve got yours? Great! We’re off to a good start.
“Proper preparation prevents poor performance.”
Remember that golden nugget of wisdom as we dive into our resealing process.
- Start by giving your bottle a thorough cleaning. Yes, every nook and cranny. We want a squeaky clean surface for our reseal to adhere to. This step is not just about cleanliness but also about ensuring a strong seal.
- Next, dry it off completely. Any water left can affect the reseal. So, make sure you’re entering the reseal zone completely dry. Remember: Water is the enemy, at least in this context.
- Inspect your bottle for any damage. If there’s a crack or a chip, it could affect the reseal’s effectiveness. We don’t want any sneaky leaks now, do we?
- Lastly, gather your resealing materials. We’ll dive into what you need in the next section. For now, just know that preparation is key!
It’s pretty simple, right? But don’t underestimate these steps. They’re the foundation of your resealing success. So, take your time, be meticulous, and let’s move onto the fun part – the actual resealing!
Choosing the Right Method to Reseal Your Water Bottle
Picture this, you’re on a refreshing hike, the sun is shining, birds are chirping and suddenly, you notice your water bottle is leaking. Bummer, right? But don’t worry, there’s a quick fix to this! To start, you’ll need to decide on the right method to reseal your water bottle.
Consider the Type of Bottle
First off, let’s consider the type of bottle we’re dealing with. Is it a plastic, glass, or metal bottle? The type of bottle can greatly influence the method you choose to reseal it.
Examine the Leak
Next, you need to play detective and examine the leak. Is it coming from the cap, the seal, or perhaps there’s a crack somewhere? Identifying the source is half the battle won!
Evaluate Your Tools
Now that you’ve identified the problem, it’s time to assess your tools. Have a waterproof adhesive, plastic wrap, and a rubber band on hand? Great! We’re ready to rock and roll.
Choose the Solution
With the type of bottle and leak source in mind, and your tools at your disposal, it’s time to choose the best method to fix the issue. Here are some ideas:
- Adhesive: This works well for sealing small cracks or holes.
- Plastic wrap and rubber band: This acts as a temporary fix for a leaky cap or seal.
- Replacement cap: If the cap is the issue, a new one might just be the solution you need.
There you have it, folks! Choosing the right method to reseal your water bottle can be as easy as one, two, three. Remember, the key is to understand the problem before jumping into a solution. Now go forth and conquer those leaks!
Step-by-Step Guide to Resealing Your Water Bottle
Friends, have you ever found yourself clutching a water bottle that’s just not doing its one job? You know, the simple task of holding water? Well, worry not! I’m here to guide you through a quick fix-it journey.
Materials You’ll Need
- Water bottle
- Hot water
- Sealing silicone
- Small brush
Step 1: Clean Your Water Bottle
First things first, let’s start with a squeaky clean bottle! Rinse out your water bottle with hot water to get rid of any dirt or old sealing material. Dry it thoroughly before moving on to the next step.
Step 2: Apply the Sealing Silicone
Grab your sealing silicone and a small brush. Apply a thin layer of the silicone around the inner edge of the bottle cap. Be generous, but also be neat. We aren’t looking for a sloppy silicone party here.
Step 3: Let it Dry
Patience is key! Let the silicone dry completely before you screw the cap back onto the bottle. This might take a few hours, so maybe grab a cup of coffee and a good book to pass the time.
Step 4: Test the Seal
Once the silicone is dry, it’s time for the moment of truth. Screw the cap back on, fill your bottle with water and give it a good shake (over the sink, just in case). If all has gone well, your water bottle is now ready for any adventure you throw its way!
Voila! You’ve successfully given your water bottle a second lease on life. Now go on, stay hydrated, and conquer the world!
Tips and Tricks for Successfully Resealing Your Water Bottle
Fellow hydration enthusiasts, lend me your ears! We’ve all been there — a water bottle that just won’t seal, causing leaks and spillages that no one has time for. But fear not, for I am here to spill the tea (or water, in this case) on how to reseal your water bottle like a pro!
Firstly, let’s get our priorities straight. Inspection is key! Gently examine your bottle cap and the bottle’s neck to look for any signs of damage or wear and tear which could be the root cause of the issue.
- If your bottle cap does seem to be damaged, try using a different cap that fits. You might just hit the jackpot!
- Similarly, if the bottle’s neck is damaged, it might be time to say goodbye and invest in a new bottle.
Next on the agenda, is cleaning. Sometimes, the culprit is simply the gunk that builds up over time.
- Take a small brush, and give the inside of the cap and the bottle’s neck a good scrub. Make sure to rinse well!
- Let both parts air dry or wipe them down with a clean towel. Trust me, you don’t want to reseal a wet bottle!
If all else fails, it’s time to get creative and try some DIY solutions.
| Diy Tricks | Steps |
|---|---|
| Use Teflon Tape | Wrap a bit of Teflon tape around the bottle’s neck before screwing the cap back on. |
| Apply Food Grade Silicone | Apply a thin layer of food grade silicone around the bottle’s neck and let it dry before re-capping. |
And there you go — a few easy steps towards a drip-free, spill-free life. So, go ahead, put these tricks to the test, and may your water bottle woes be a thing of the past!
Common Mistakes to Avoid While Resealing Your Water Bottle
Alright, we’ve all been there – you’re trying to reseal your water bottle and somehow it’s turned into a DIY project gone wrong. But don’t fret, I’m here to help you avoid some common mistakes that can take you from “oh no!” to “pro” in no time. Let’s get to it!
1. Over-tightening the Cap
Many of us think that the tighter the better, right? Well, not exactly. Over-tightening the cap can cause the seal to crack or warp, leading to leaks. Remember, it’s a water bottle, not a jar of pickles – no Hulk strength needed.
2. Ignoring the Seal
Mind the seal! A common mishap is forgetting to check the integrity of the bottle’s seal. Make sure it’s clean, intact, and properly placed before screwing on that cap. A damaged seal is a leaky bottle’s best friend.
3. Not Testing for Leaks
So, you’ve screwed on the cap and everything looks fine. But hold on! Before you toss that bottle into your bag, give it a quick test. Fill it up, turn it upside down, and give it a gentle squeeze – no drips should escape.
4. Failing to Clean Regularly
Resealing your water bottle is also a perfect time to give it a good clean. A build-up of grime can keep your bottle from sealing properly, not to mention it’s kinda gross. So, be sure to scrub-a-dub-dub regularly.
5. Using the Wrong Tools
Lastly, let’s talk tools. Avoid using hard or sharp tools to adjust the seal or the cap, as they can cause damage. Stick with soft, non-abrasive materials to keep your water bottle in tip-top shape.
And there you go, folks! With these tips in mind, you’ll be avoiding these common resealing mistakes and drinking from your leak-free water bottle like a pro.
Alternative Ways to Keep Your Water Bottle Secure and Leak-Proof
Friends, let’s dive into the DIY world of water bottles! Ever been on the go, only to discover a pesky leak in your trusty hydration companion? Fear no more, for there are several handy methods to keep your bottle secure and leak-free. They’re easy, fun, and will earn you bragging rights at your next picnic or gym session!
Upcycling Old Bottles
Yes, you heard me right, folks. Your old, seemingly useless, bottles can be your new saviors. It’s all about the cap; a good, sturdy cap from an old bottle can often replace a faulty one on your current bottle.
The Magic of Silicone
Another gem from the DIY arsenal: silicone. This miracle material can be used to reseal your bottle. Apply a thin layer around the inside of the cap, let it dry, and voilà! Your bottle is ready to be your leak-free companion once again.
Teflon Tape to the Rescue
Meet your new best friend: Teflon tape. Wrap it around the bottle’s grooves before screwing on the cap. It’s as simple as that. Teflon tape effectively fills any gaps and provides a snug fit, making your bottle leak-proof.
The Power of Paracord
Don’t underestimate the power of a good old Paracord. It’s not just for survivalists out in the wilderness; it can also be used to create a tight seal around your water bottle cap. Just weave it around the cap, and it’ll help prevent any pesky leaks.
Duct Tape – The All-Rounder
The all-rounder in the world of quick fixes, duct tape can also be used for your water bottle. Use it to cover any leaky spots for a temporary solution until you can find a more permanent fix. It’s not fancy, but it sure does the job!
So there you have it, friends! Your guide to keeping your water bottle secure and leak-free. Simple, efficient, and above all, fun! So, next time a leak tries to dampen your day, show it who’s boss with these DIY hacks.
Conclusion: Keep Your Water Bottle Fresh and Safe with Proper Resealing
Well, my dear hydration enthusiasts, we’ve journeyed together through the exciting land of water bottle resealing. What an adventure, huh? Now, as we wrap up this trek, let’s ensure we’ve got our takeaways in the bag.
- Resealing is not just a fancy dance move for your bottle cap, it’s a critical step in keeping your water pure, fresh, and safe.
- Remember, the right way to reseal involves tightening the cap until it’s snug, but not overdoing it.
- A clean lid equals a happy sip. So, never underestimate the power of a good rinse and dry before resealing.
So there you have it, folks. By mastering the art of resealing, you’re not just extending your water bottle’s life, you’re also ensuring that every sip you take is as refreshing as the last. Keep it fresh, keep it safe, and most importantly, keep it sealed!
Remember: A properly resealed water bottle is your ticket to pure, unadulterated, and consistently refreshing hydration. Happy sipping!
Until next time, stay hydrated and keep those bottles sealed tight!