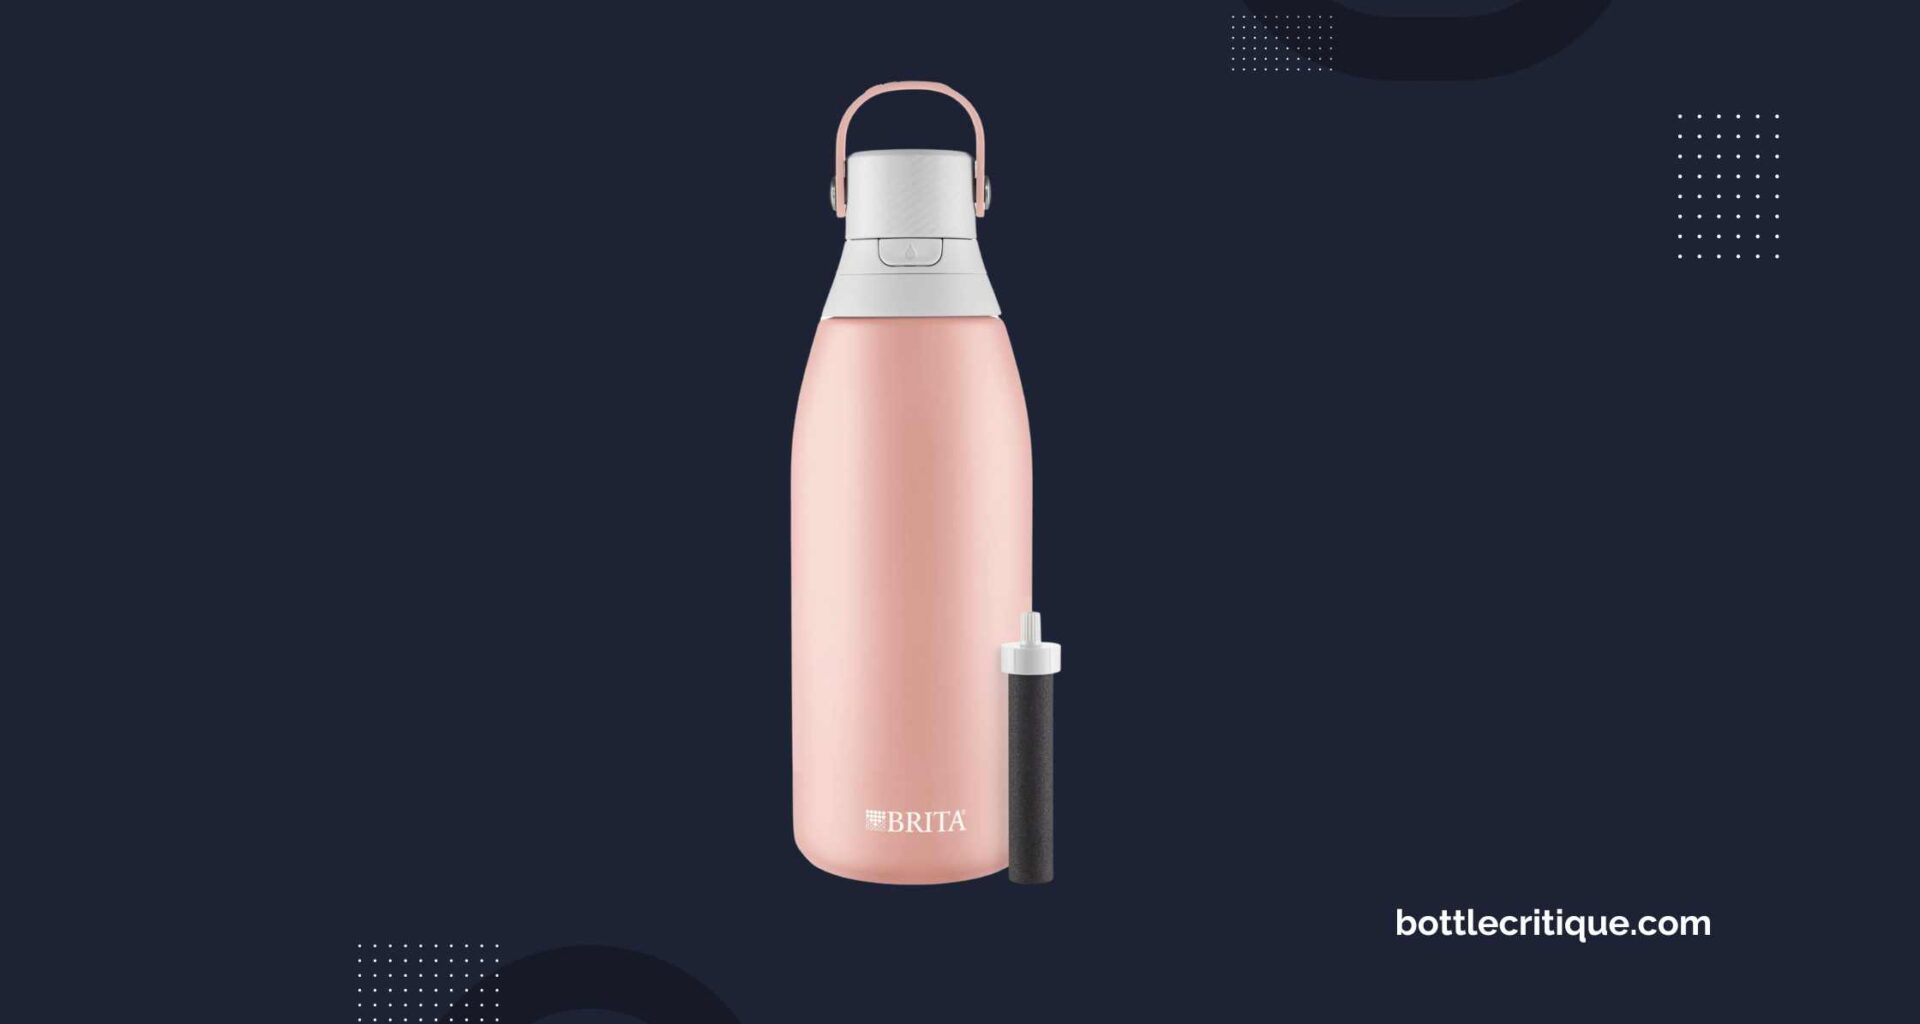
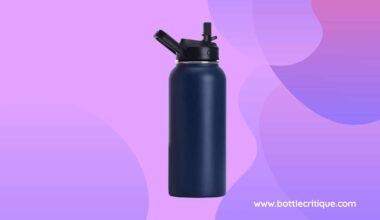
Are you concerned about the efficiency of your Brita water bottle filter? Or has it been a while since you last replaced it? Well, you’re in the right place! In this article, we’ll guide you through the simple steps on how to replace your Brita water bottle filter. Not only is this process quick and easy, but it also ensures that you’re consuming clean and safe water, free from harmful contaminants. So, shall we get started?
Why Replace Your Brita Water Bottle Filter?
Ever wondered why you need to replace your Brita water bottle filter? Well, the reason is simple: to ensure that you’re drinking the cleanest, freshest water possible. The filter in your Brita water bottle plays a crucial role in removing harmful contaminants and improving the overall taste and smell of your tap water.
Here are some key reasons why regular replacement is important:
- Freshness: Old filters can accumulate bacteria over time, leading to an unpleasant taste. A new filter ensures your water always tastes fresh.
- Optimal Performance: Filters lose efficiency over time. By replacing them regularly, you ensure your Brita water bottle is always working at its best.
- Health: A new filter will more effectively remove harmful substances, keeping you and your family safe from potential health risks.
Remember, Brita recommends replacing your filter every 40 gallons or approximately every two months for the average user. Don’t wait until your water starts tasting different, keep up with regular replacements to ensure optimal performance and safety.
So, are you ready to replace your Brita water bottle filter? It’s an easy process, and we’ll guide you through it in the next section.
How Often Should You Replace Your Brita Water Bottle Filter?
Quenching your thirst with clean, filtered water is crucial to your health and wellbeing. But how often should you replace that little miracle worker – your Brita water bottle filter? The answer is more often than you might think.
Brita recommends changing your water bottle filter every 40 gallons, or approximately every two months for the average user. However, if you’re using it more frequently, or if your local water supply is heavily polluted, you might need to replace it even sooner.
Here are some signs that it’s time to replace your Brita water bottle filter:
- Your water tastes different: If you notice a change in the taste or smell of your water, it’s time to change your filter.
- Your filter is discolored: A dark or discolored filter is a clear sign that it’s time for a replacement.
- You’ve been using the same filter for more than two months: Even if you haven’t noticed any changes in your water, it’s best to replace your filter regularly to ensure optimal performance and hygiene.
What You’ll Need to Replace Your Brita Water Bottle Filter
Before you get started on replacing your Brita water bottle filter, there are a few things you’re going to need. Having these items on hand will make the process smoother and more efficient. This way, you’ll be back to enjoying fresh, clean water in no time at all.
- A new Brita filter: Make sure it’s the correct model to fit your specific Brita water bottle. Filters are not one-size-fits-all.
- Brita water bottle: This is the bottle whose filter you’re replacing. It should be clean and dry before starting the process.
- Clean towel or cloth: This is for drying the bottle and the new filter.
You may also find it helpful to have the instruction manual for your specific Brita water bottle model. If you’ve misplaced yours, don’t worry. Most manuals can be found online on the Brita website.
Step-by-Step Guide to Replacing Your Brita Water Bottle Filter
Replacing your Brita water bottle filter is a simple and cost-effective process that ensures you have access to clean, refreshing water anytime, anywhere. Ready to replace your filter? Here’s a step-by-step guide to help you navigate through the process.
1. Gather Your Materials
Before you start, make sure you have all the necessary materials. This includes a new Brita filter, your water bottle, and clean hands. Let’s keep everything hygienic!
2. Remove the Old Filter
Start by unscrewing the cap of your Brita water bottle. You’ll find the old filter attached to the cap. Simply twist and pull the filter to remove it. Take care not to spill any trapped water.
3. Prep the New Filter
Take out your new Brita filter. Before you install it, run it under cold tap water for about 15 seconds. This helps remove any loose carbon particles. Remember, it’s always important to prep your filter!
4. Install the New Filter
Now it’s time to install the new filter. Align the insert of the filter with the groove in the cap. Once it’s in place, twist it clockwise until it locks into position. Hear that click? Your filter is now secure!
5. Test the Filter
Before using your bottle, fill it with water and then drain it to remove any remaining carbon dust in the new filter. Now, you’re ready to enjoy pure, clean water from your Brita bottle.
Tip: Remember to replace your Brita filter every 40 gallons (about 2 months) for optimal performance.
See? Replacing your Brita water bottle filter is simple and straightforward. Now go ahead and enjoy the fresh, clean taste of filtered water!
Troubleshooting Common Issues When Replacing Your Brita Water Bottle Filter
Ever faced a hiccup when replacing your Brita water bottle filter? Don’t sweat it. We’re here to help you troubleshoot some common issues so you can get back to enjoying your refreshing, filtered water.
1. Difficulty in Removing the Old Filter
Are you struggling to remove the old filter from your Brita water bottle? This issue is quite common, especially if the filter has been in place for a while.
- Use a cloth: Wrap a cloth around the filter. This provides a better grip and makes it easier to twist and pull out the filter.
- Apply gentle pressure: Don’t force it. Instead, apply slow and steady pressure. This will reduce the risk of damaging the bottle.
2. Filter Doesn’t Fit
Did you purchase a new filter and it doesn’t seem to fit in your Brita water bottle? Here’s what you can do:
- Check compatibility: Not all filters are created equal. Ensure that the filter you bought is compatible with your specific Brita bottle model.
- Properly align: Make sure that the filter is correctly aligned with the slot in the bottle. Misalignment can prevent the filter from fitting properly.
3. Leaking Issue
Noticing water leaking from your bottle after replacing the filter? Don’t worry, there’s a solution for that.
“Ensure the filter is securely tightened within the bottle. If the filter is loose, it can cause leaks. Also, check for any damage or cracks in the filter or bottle.”
4. Water Tastes Different
Changed the filter and the water tastes different now? It’s a common occurrence and here’s why:
- Initial use: New filters can sometimes produce a different taste initially. This should go away after you’ve used the bottle a few times.
- Expired filter: If the taste persists, the filter may have expired or become contaminated. Consider replacing it.
Tips to Extend the Life of Your Brita Water Bottle Filter
Keeping your Brita water bottle filter in optimal condition not only ensures you get the freshest, purest water, but it can also help extend the life of the filter itself. Here are some simple tips that can help you make the most out of your Brita filter.
- Flush the new filter: Always give your new Brita filter a good flush before first use. This helps to remove any loose carbon dust that could affect performance.
- Store in a cool, dry place: Humidity and high temperatures can degrade the filter over time. So, it’s best to store your Brita water bottle in a cool, dry location.
- Regular cleaning: Regularly clean your Brita water bottle and filter to prevent build-up of bacteria and other impurities. Make sure to always follow the manufacturer’s cleaning instructions.
Remember, even with the best care, filters do have a lifespan. Brita recommends replacing the filter every 40 gallons or every two months, whichever comes first.
By following these tips, you can help extend the life of your Brita water bottle filter and enjoy fresh, clean water for longer. Why not give them a try?
Other Maintenance Tasks for Your Brita Water Bottle
Just like any other household item, your Brita Water Bottle requires regular upkeep to ensure it continues to function optimally. Beyond simply replacing the filter, there are other key maintenance tasks you should perform regularly.
Cleaning the Bottle
Cleaning your Brita Water Bottle is as important as changing the filter. An unclean bottle could harbor bacteria and mold, which could potentially contaminate your filtered water. Here’s how to clean it:
- Detach the filter from the bottle.
- Wash the bottle with warm, soapy water.
- Rinse thoroughly to ensure no soap residue remains.
- Allow the bottle to air dry completely before reassembling.
Inspecting the Lid
The lid of your Brita Water Bottle should also be inspected regularly. Ensure it seals properly to prevent leakage and check for any signs of wear and tear. If the lid becomes cracked or damaged, it’s time for a replacement.
Checking the Filter Housing
Don’t forget about the filter housing. Any cracks or damage could mean unfiltered water is passing through. A quick visual inspection when you change the filter can help catch any issues early.
Note: Never put your Brita Water Bottle in the dishwasher. The high temperatures can warp the plastic, damaging the bottle and reducing its lifespan.
In conclusion, regular maintenance is the key to keeping your Brita Water Bottle working at its best. A clean bottle, a well-functioning lid, and an intact filter housing all contribute to providing you with pure, clean water.
Choosing the Right Replacement Filter for Your Brita Water Bottle
So, you have your Brita water bottle and it’s time for a filter change. But before we dive into the actual process of replacing the filter, it’s important to ensure you have the right replacement filter for your Brita water bottle. Because, not all filters are created equal, right?
Consider these points when you choose your replacement filter:
- Type of Brita Water Bottle: Different models of Brita water bottles require different types of filters. Make sure to check your bottle’s model and get the corresponding filter.
- Quality: Always opt for Brita’s original filters to maintain the best quality of filtration. Counterfeit filters may not provide the same level of purification and can potentially harm your health.
- Price: While it’s true that cheaper is not always better, you don’t necessarily need the most expensive one either. Aim for a balance between quality and price.
Now that we know what to look for, let’s get down to business. Shall we?
Where to Buy Your Replacement Filter
Your local supermarket or home goods store likely carries Brita filters. If not, don’t worry. You can easily order them online from Brita’s official website or other trusted e-commerce platforms like Amazon. Just remember to double-check the model of your Brita water bottle to ensure you’re purchasing the correct replacement filter.
Pro Tip: Keep a spare filter or two on hand. This way, you won’t be stuck with unfiltered water when it’s time for a replacement.
In the next section, we’ll walk you through the step-by-step process of replacing your Brita water bottle filter. Brace yourself, it’s easier than you think!
Environmental Impact of Replacing Your Brita Water Bottle Filter
Did you know that replacing your Brita water bottle filter can have a significant impact on the environment? Let’s dive in to understand why and how.
The Issue of Plastic Waste
Firstly, each Brita filter is made primarily of plastic. Although these filters are small, consider how many you might use over a year. That’s a lot of plastic potentially ending up in our landfills and oceans. It’s a sobering thought, isn’t it?
The Carbon Footprint
Secondly, the manufacturing and transportation of these filters contribute to carbon emissions. These processes utilize energy, which can come from non-renewable sources and result in the release of greenhouse gases. The impact may seem minor, but with millions of people using Brita filters worldwide, it can add up.
What Brita Is Doing
But it’s not all bad news. Brita is making efforts to minimize their environmental impact. They are investing in recycling programs and looking into creating more sustainable products. The company has invested in TerraCycle, a global recycling company, to help consumers recycle their used Brita filters.
What You Can Do
And what can you do? A lot, actually! Here are some steps you can take:
- Recycle Your Filters: Instead of throwing them in the trash, recycle your Brita filters. As mentioned earlier, Brita has partnered with TerraCycle to make this process easier.
- Buy in Bulk: Reduce your carbon footprint by buying your filters in bulk. This way, you minimize the frequency of transportation and packaging waste.
- Spread the Word: Let people know about the importance of recycling filters. The more people involved, the bigger the impact we can make.
In conclusion, while replacing your Brita water bottle filter is essential for clean, safe water, it’s crucial to be mindful of the environmental impact. By recycling your filters, buying in bulk, and spreading the word, you can help make a difference.
FAQs About Replacing Your Brita Water Bottle Filter
Replacing your Brita water bottle filter can seem a bit daunting, especially if this is your first time. But don’t worry, we’ve got you covered! Here are some of the most frequently asked questions about changing your Brita filter.
1. How often should I replace my Brita filter?
For optimal performance, it’s recommended to replace your Brita water bottle filter every 40 gallons, or approximately every two months for an average user. However, this can vary depending on your water consumption and the quality of your tap water.
2. How do I know when my filter needs replacing?
Your Brita water bottle may have a filter indicator which signals when it’s time for a change. If not, keep a record of when you last replaced the filter and ensure you change it around every two months.
3. Can I clean and reuse my Brita filter instead of replacing it?
No, Brita filters are not designed to be cleaned and reused. They contain activated carbon that absorbs impurities from your water, and this carbon cannot be reactivated once it’s full. Therefore, it’s critical to replace your filter regularly to maintain quality drinking water.
4. Where can I buy replacement Brita filters?
Replacement Brita filters can be purchased from a variety of locations. This includes supermarkets, home goods stores, and online marketplaces such as Amazon. You can also buy them directly from the Brita website.
5. How do I replace the Brita filter in my water bottle?
- Remove the old filter from your bottle.
- Rinse the new filter under cold water for 15 seconds.
- Insert the new filter into the reservoir, making sure it’s firmly seated.
- Fill the bottle with cold water and enjoy!
Remember, it’s essential to replace your Brita filter regularly to ensure you’re always drinking clean, pure water. So, keep these FAQs in mind and make filter replacement a part of your routine!
