Do you have stubborn stickers on your water bottle that you just can’t off? Well, you’re in the right place. Removing stickers from water bottles can be a challenging task, especially if they’ve been there for a while. But don’t worry, it’s not impossible.
In this article, we’ll guide you through a step-by-step process on how to remove stickers from your water bottle. Whether it’s a brand-new bottle or an old favorite, with these methods, you’ll have a clean, sticker-free bottle in no time.
We’ll cover:
- The tools you’ll need
- Techniques for removing different types of stickers
- Tips on how to keep your water bottles sticker-free
Ready to reclaim your water bottle from those sticky invaders? Let’s dive in!
Stickers on your Water Bottle: A Common Problem
Ever find yourself struggling with stubborn stickers or residue left behind on your water bottle? You’re not alone. Many people face this common issue, whether it’s from a brand label that won’t come off or a decorative sticker that’s lost its appeal.
Stickers can ruin the clean look of your water bottle and even make it uncomfortable to hold. They can also attract dirt or become a hotbed for bacteria if not removed properly. But don’t worry, getting rid of them doesn’t have to be a tiresome ordeal.
In this guide, we’ll explore simple, effective methods to remove stickers from your water bottle, without damaging its surface. You’ll find that with the right tools and techniques, this task can be easy and hassle-free. So, are you ready to restore your water bottle to its former glory?
Why Remove Stickers from your Water Bottle?
Materials Needed to Remove Stickers from Water Bottle
Before you can effectively remove stickers from your water bottle, there are a few materials you’ll need to have on hand. Never worry, these items are generally available in most households. If not, a quick trip to your local store should suffice.
- Dish soap: This common kitchen staple is great for loosening the adhesive that keeps stickers stuck.
- Warm water: It helps to dissolve the glue further, making the sticker easier to peel off.
- Soft sponge or cloth: These are used to gently scrub the sticker off without scratching your bottle.
- Dry towel: This is used to dry the bottle after the sticker has been removed.
- Adhesive remover: If the sticker proves stubborn, a little bit of adhesive remover can go a long way. These can be found in any hardware store.
With these materials in hand, you’ll be fully equipped to tackle the task of removing that pesky sticker from your water bottle. Remember, patience is key – rushing could damage your bottle. Ready to get started?
Step-by-Step Guide to Remove Stickers from Water Bottle
Ever been frustrated with a stubborn sticker on your favorite water bottle? Well, you’re not alone! We’ve all struggled with those pesky adhesives that just won’t give up. Luckily, we’ve got the perfect step-by-step guide to help you remove stickers from your water bottle without causing any damage. Let’s dive right in!
1. Gather Your Materials
Before we start, let’s make sure you have everything you need:
- Dish soap
- Warm water
- A cloth or sponge
- Oil (vegetable, baby, or mineral oil)
- A plastic scraper
2. Soak the Water Bottle
Fill your sink or a large bowl with warm water. Add a few drops of dish soap. Submerge your water bottle in the soapy water and let it soak for about 10 to 15 minutes. This should soften the sticker and start to loosen the adhesive.
3. Scrub Off the Sticker
After soaking, use a cloth or sponge to gently scrub at the sticker. Most of it should come off easily. If some parts still stick, don’t worry, we’ve got more steps!
4. Apply Oil
For those stubborn residue, it’s time to bring out the secret weapon – oil! Apply a little bit of your chosen oil to the remaining sticker residue. Rub it in well and let it sit for a few minutes.
5. Scrape Off the Residue
Now, use the plastic scraper to gently scrape off the oil-soaked residue. Remember, be gentle! We don’t want to scratch your water bottle. If needed, repeat the oil application and scraping until all residue is gone.
6. Rinse and Dry
Finally, rinse your water bottle thoroughly with warm water to remove any oil or soap. Make sure you dry it well to prevent any water spots or streaks. And voila! Your water bottle is now sticker-free and looking great.
See? Removing stickers from water bottles doesn’t have to be a chore. All you need is a little bit of patience and the right tools. So go ahead and reclaim your water bottle from those stubborn stickers!
Alternative Methods to Remove Stickers from Water Bottle
is still clinging on for dear life, huh? Don’t worry; we’ve got some alternative methods that might just do the trick.
Method 1: The Baking Soda and Oil Mix
This is an environmentally friendly method that most likely, you can whip up with ingredients you already have at home. Let’s give it a try, shall we?
- Make a paste: Combine equal parts of baking soda and cooking oil (any type) to form a paste.
- Apply the paste: Apply this paste generously onto the sticker and let it sit for about 30 minutes.
- Remove: After the waiting period, gently scrub off the sticker using a cloth. The sticker and residue should come off easily.
Method 2: The Hot Water Treatment
Ever considered giving your water bottle a hot bath? Well, it might be just what you need to get rid of that sticker.
- Fill a basin with hot water: Ensure the water is hot enough to soak the sticker but not too hot that it could ruin your water bottle, especially if it’s plastic.
- Soak the bottle: Submerge your water bottle in the water such that the sticker is under the water. Leave it in for about 10 to 15 minutes.
- Peel off the sticker: After soaking, the adhesive should loosen, making it easy for you to peel off the sticker.
Method 3: The Hair Dryer Technique
Who knew that the solution to your problem could be lying in your bathroom? The heat from a hair dryer can soften the adhesive, enabling you to peel off the sticker smoothly.
- Heat the sticker: Aim the hair dryer at the sticker and heat it for about a minute or so. Be careful not to overheat the plastic bottle.
- Peel it off: Once the sticker is warm and the adhesive beneath it is soft, you should be able to peel it off easily. Remember to do this slowly to avoid leaving any residue.
Remember, all stickers are not created equal, so you may have to experiment with these methods, or even combine them, to find what works best for your water bottle. Good luck!
Cleaning Residue Left Behind by Stickers
‘t worry, this next part not too difficult. Here’s how you can get rid of that sticky residue and make your bottle look as good as new.
Materials You Will Need:
- Baking Soda
- Warm Water
- Soft Cloth
- Rubbing Alcohol (Optional)
Now that you have your materials ready, let’s start cleaning!
Method:
- Prepare a Baking Soda Paste: Mix equal parts baking soda and warm water to create a paste.
- Apply the Paste: Use your fingers or a soft cloth to gently spread the paste onto the sticky residue.
- Let it Sit: Allow the paste to sit on the residue for about 10-15 minutes.
- Wipe Off: After the wait, wipe off the paste and residue with a soft cloth. You should see the residue coming off with the paste.
- Rinse: Rinse the area with warm water to remove any leftover paste.
Note: If the residue is particularly stubborn, you might need to repeat the process a few times. Alternatively, you can use a small amount of rubbing alcohol on a cotton ball to wipe away any remaining residue.
There you have it! Even the stickiest of residues don’t stand a chance against this method. Remember, keeping your water bottle clean is not just about aesthetics—it’s about maintaining your health too. So don’t skip this important step!
Maintaining a Sticker-Free Water Bottle
sticker-free? Or are you simply tired of old, peeling stickers ruining the sleek look of your bottle? This is the guide for you! The key to maintaining a sticker-free water bottle lies in your routine and the techniques you adopt. Let’s dive right in!
Regular Cleaning
Just like any other item, the secret to keeping your water bottle in top-notch condition is regular cleaning. This not only ensures it’s hygienic for your health but also helps in preventing sticker residues from becoming stubborn.
Appropriate Sticker Placement
Yes, stickers can be fun and personalized, but where you place them matters. Avoid areas that are frequently handled or exposed to excessive heat or sunlight. These conditions can cause your stickers to start peeling off prematurely, leading to unsightly residues.
Use of Quality Stickers
Not all stickers are created equal. Opt for high-quality stickers that are water-resistant and less likely to leave behind sticky residues. They might cost a bit more, but the cleanliness and aesthetics of your water bottle will thank you.
Proper Sticker Removal
When the time comes to remove a sticker, do it carefully. Avoid scratching or tearing at the sticker as this can leave behind adhesive residues. Instead, use the techniques discussed earlier in this guide for best results.
Regular Inspection
Regularly inspect your water bottle for any signs of sticker residues or peeling stickers. Early detection makes the removal process easier and less time-consuming.
Remember: A well-maintained water bottle is not only a joy to use but also a testament to your commitment to cleanliness and personal style.
Creative Ways to Decorate your Water Bottle without Stickers
If you’re tired of stickers leaving sticky residues on your water bottle, or you just want something a little more personalized, consider these creative ways to decorate your water bottle without using stickers:
1. Use Washi Tape
Washi tape is not just for scrapbooking or wrapping gifts. It’s an amazing tool for DIY crafts, including decorating water bottles. You can create unique patterns and designs, and the best part? It’s easy to remove without leaving any sticky residue.
2. Try Paint Markers
With paint markers, you can draw and write directly on your bottle. This is an excellent way to add a personal touch, whether it’s a favorite quote, a catchy phrase, or a beautiful design. Be sure to let the paint dry thoroughly before using the bottle.
3. Opt for Nail Polish
Did you know that nail polish can be used to create durable, waterproof designs on your water bottle? It’s true! Pick your favorite colors and get creative.
4. Use Fabric or Yarn
If you’re into sewing or knitting, why not use fabrics or yarns to cover your water bottle? This will not only make it unique but also add a cozy and warm touch to it.
Remember, the key to a successful DIY water bottle decoration is creativity. So, don’t be afraid to experiment and try different things until you find the one that suits you best.
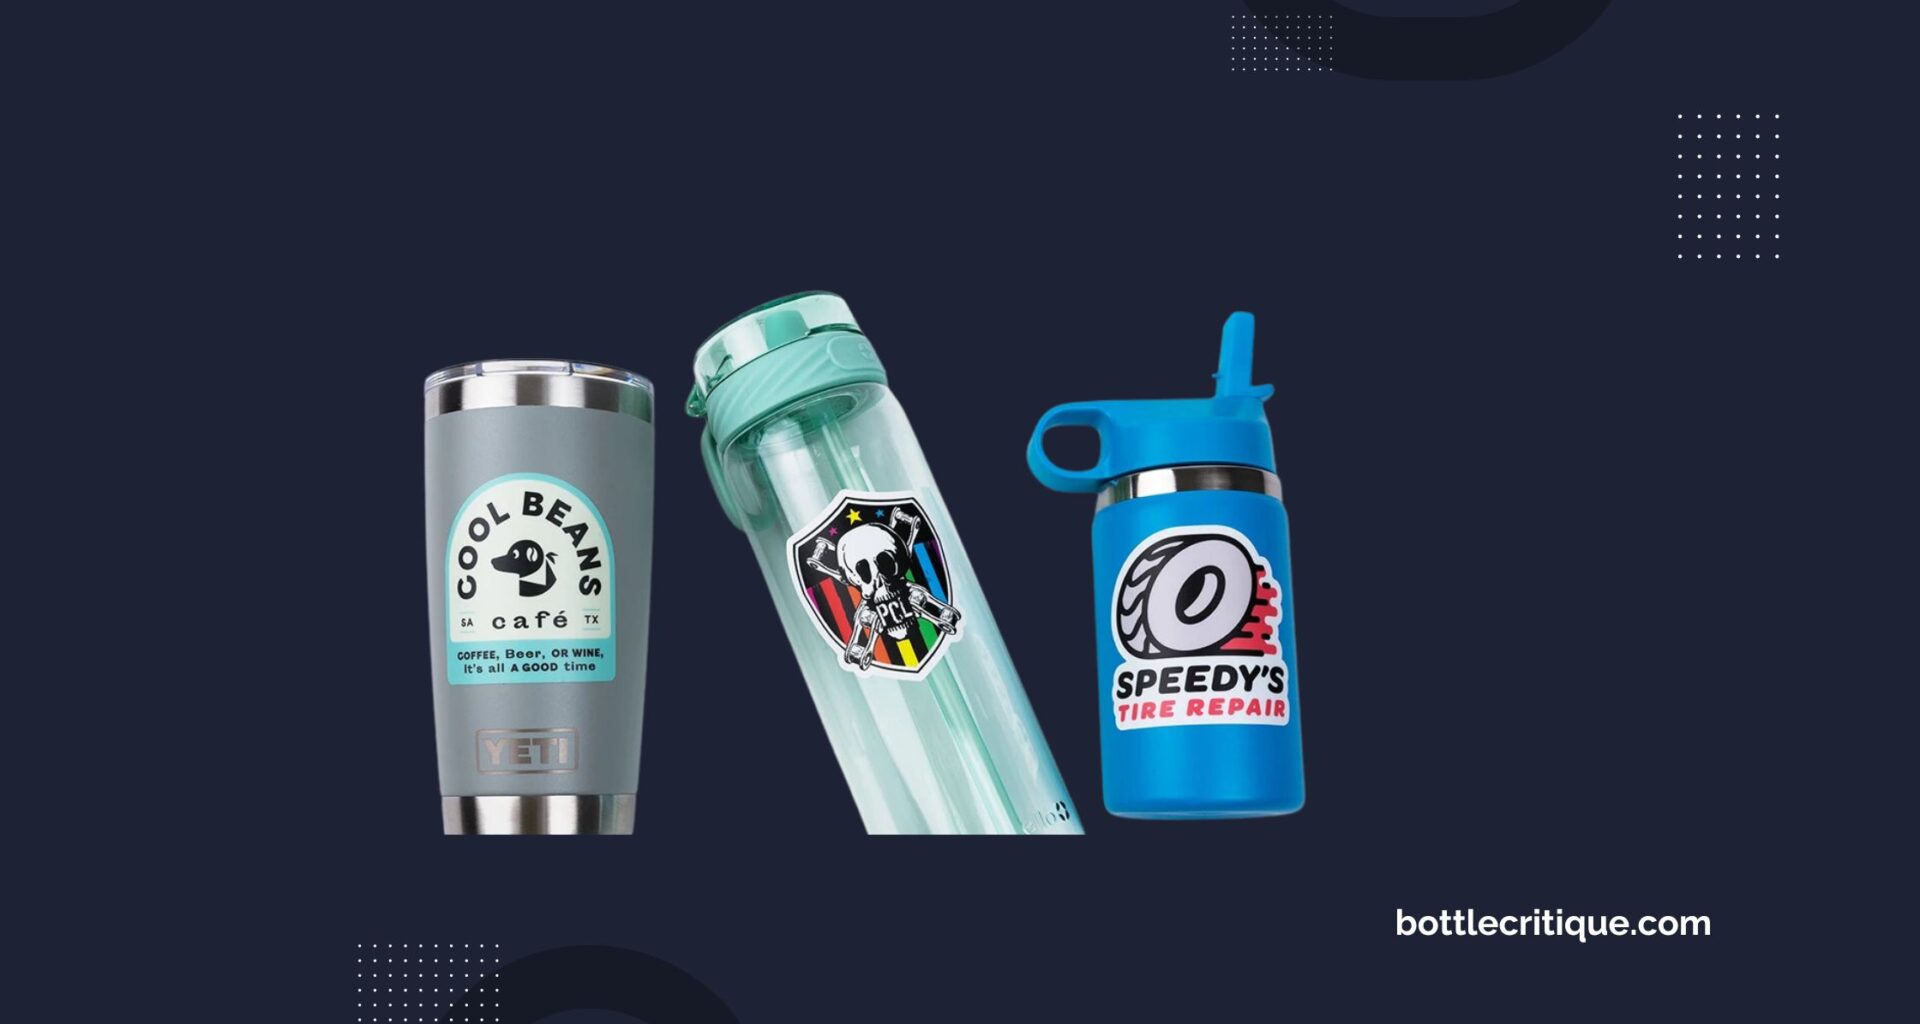
Tips to Keep Stickers from Sticking to your Water Bottle
Ever found yourself in a situation where you bought a water bottle with a sticker that you didn’t fancy? Or perhaps you enthusiastically decorated your bottle with stickers, only to decide later that you want a more minimalist look? Not to worry, we’ve got you covered!
Here are some handy tips to help keep stickers from sticking to your water bottle in the first place:
- Choose the Right Material: Opt for water bottles made of materials like stainless steel or hard plastic. Stickers tend not to adhere as strongly to these surfaces, making them easier to remove later.
- Use a Phone Case: If you’re looking to display your stickers but want to keep your water bottle pristine, why not stick them onto a clear phone case instead? This way, you can showcase your stickers without committing them to your water bottle.
- Apply a Clear Coat: If you really must stick your stickers onto your water bottle, consider applying a clear, removable, protective coat over the surface first. This creates a buffer between the sticker and the bottle, simplifying removal later on.
Remember, prevention is better than cure. By taking these steps, you can enjoy personalizing your water bottle without the stress of removing stubborn stickers later.
Next up, we’ll dive into the step-by-step process on how to remove those stubborn stickers that managed to make themselves at home on your water bottle. Stay tuned!
Conclusion: Enjoy your Sticker-Free Water Bottle
you effectively in achieving a clean and clear surface. A bottle without stickers not only looks better but also gives you a sense of accomplishment knowing that you’ve done the task yourself. So, enjoy your revitalized water bottle!
But before you go, here are a few reminders to keep your water bottles looking their best:
- Maintenance is key: Regularly clean your water bottles to prevent grime and residue build-up.
- Be patient: Sticker removal can take time, especially with stubborn adhesives. Don’t rush.
- Choose wisely: If you’re planning to decorate your bottles with stickers in the future, opt for those that are easy to remove.
Remember, the life of your water bottle largely depends on how you care for it. It’s not only about hydrating yourself but also about maintaining the things that aid in your hydration.
Now, with your stickers gone and your bottle refreshed, it’s time to hydrate. Enjoy each sip and celebrate your success in removing those pesky stickers. Here’s to a cleaner, healthier you and your water bottle! Cheers!