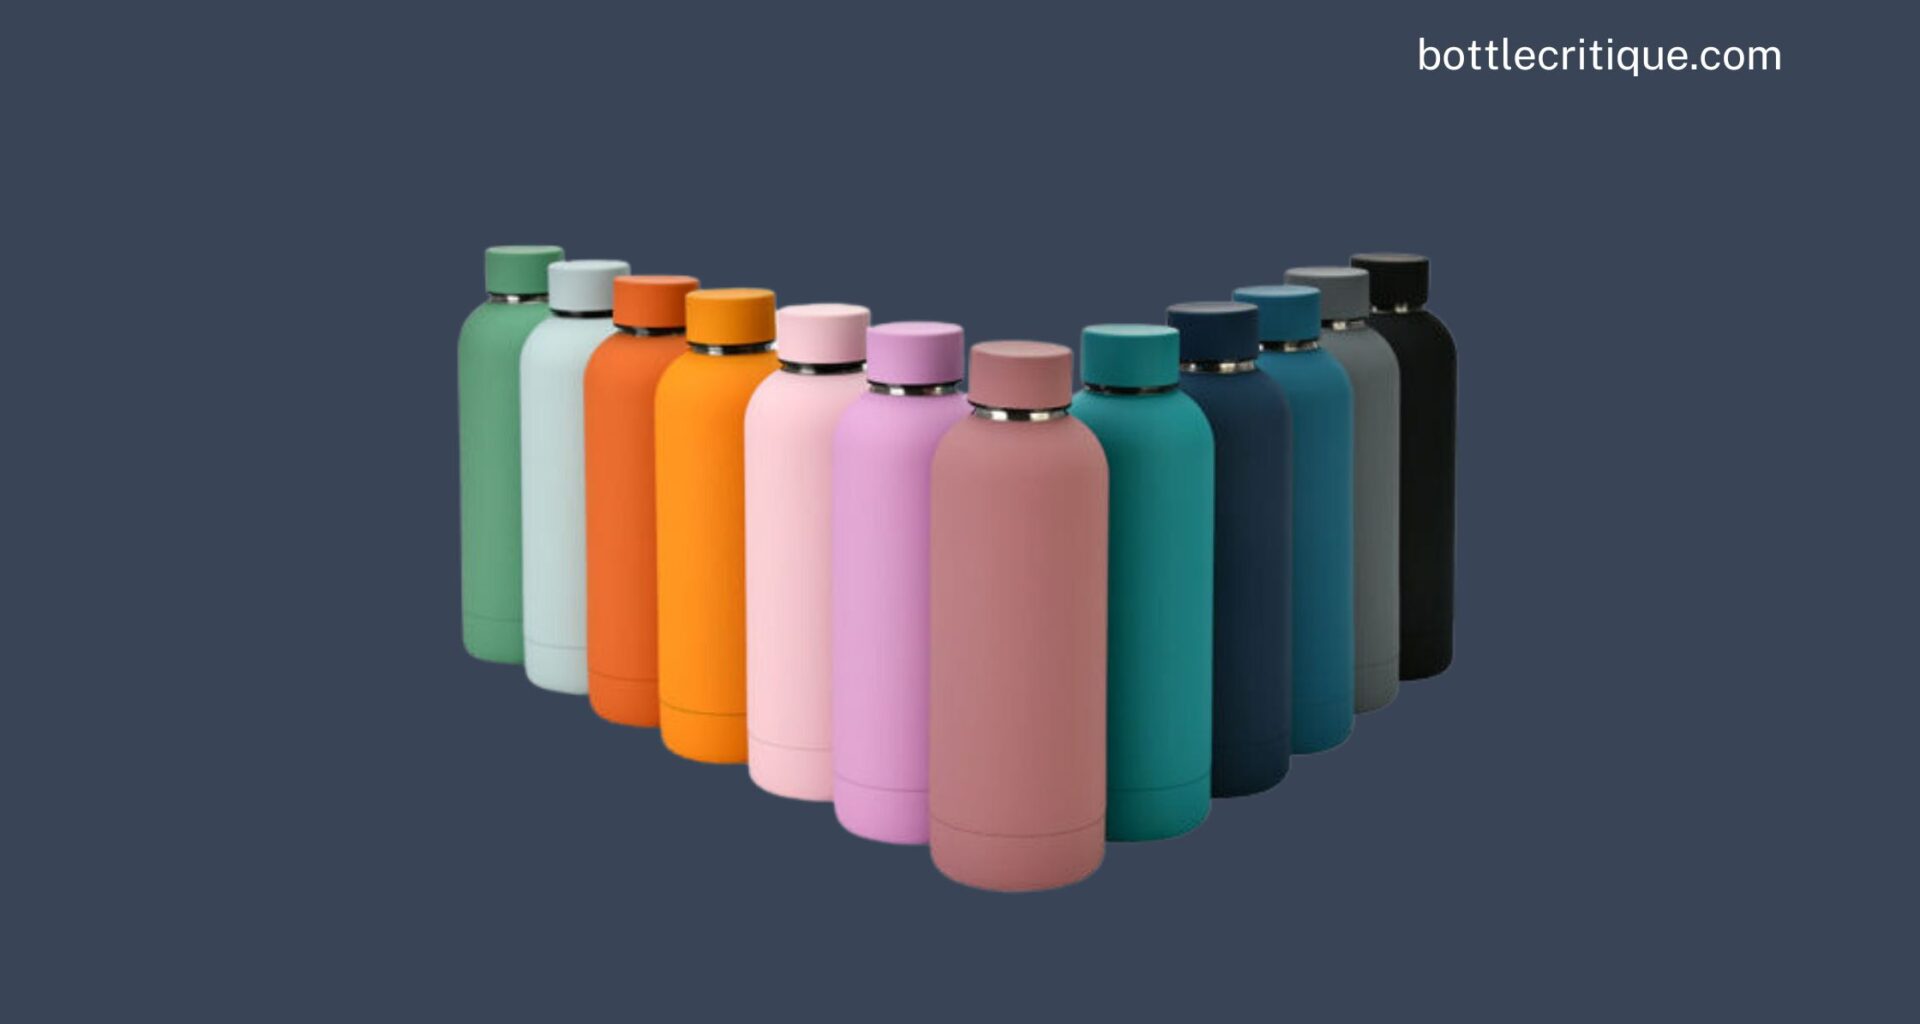
Have you ever been in a situation where you needed to remove unwanted paint from your favorite water bottle? Maybe it’s an old logo that just doesn’t suit your style anymore, or a DIY paint job gone wrong. Whatever the case, you don’t have to live with it. This article will guide you on how to remove paint from your water bottle safely and effectively. Read on to find the solution you’ve been looking for!
Why Remove Paint from a Water Bottle?
Ever looked at your water bottle and thought, “This paint must go!”? There could be several reasons why you’d want to remove paint from your water bottle. Let’s delve into some compelling ones:
- Aesthetics: Over time, the paint on your water bottle can chip or peel, making the bottle look unappealing. Giving it a fresh start can help you regain that clean, sleek look.
- Health Concerns: Depending on the type of paint used, some might contain harmful chemicals. Removing the paint can help you stay safe and healthy.
- Repurposing: Perhaps you want to upcycle your water bottle for a different use, and the current paint doesn’t fit your new vision. Stripping the paint might be the first step towards that new project.
So, why continue to bear with a chipped, potentially unhealthy, or just plain ugly water bottle when you can easily remove the paint and give it a new life? It’s time to learn how to do this simple task, and you’ll be surprised at how revitalized your water bottle can be!
Tools You Will Need to Remove Paint from a Water Bottle
Before you roll up your sleeves to start the paint removal process, it’s important to have all the necessary tools on hand. This will make your job easier and more efficient. Let’s go through what you will need:
- Protective Gear: This includes gloves, goggles, and an apron to protect your skin and eyes from harsh chemicals.
- Chemical Paint Stripper: A commercial-grade paint remover specifically designed for plastic surfaces.
- Abrasive Sponge: For scrubbing off the loosened paint without scratching the water bottle.
- Old Toothbrush: This will help you get into those hard-to-reach corners and crevices of the bottle.
- Soap and Water: Warm soapy water will be needed for washing the bottle after the paint has been removed.
Now that you’ve gathered your tools, you’re ready to get started. Remember, safety first! Always wear your protective gear when handling chemical paint strippers.
Additional Tools for Stubborn Paint
While the above-mentioned tools should suffice for most paint removal tasks, you might come across some stubborn paint patches that refuse to budge. In such cases, you may need some extra tools:
- Plastic Scraper: This will help scrape off stubborn paint, but be gentle to avoid damaging the surface of your water bottle.
- Steel Wool: Use this as a last resort and always opt for the finest grade to minimize potential scratches.
With these additional tools, even the most stubborn of paints should have no place to hide. Remember, the goal here is not just to remove the paint but to do so without damaging your water bottle.
Step-by-Step Guide: How to Remove Paint from a Water Bottle
Got an old water bottle with unsightly paint patches you’d love to get rid of? You’re in the right place! This guide will provide you with a step-by-step process to remove paint from a water bottle swiftly and efficiently. Let’s get started, shall we?
What You’ll Need
- Warm water: It helps to soften the paint, making it easier to remove.
- Mild detergent: This will assist in loosening the paint from the bottle’s surface.
- Soft cloth or sponge: To gently scrub away the loosened paint without damaging the bottle.
- Paint remover solution: If the paint is stubborn, a specialized remover can come in handy. However, ensure it’s safe and won’t damage the bottle.
Step 1: Prepare the Bottle
First, empty the bottle completely. Then, wash the bottle with warm water and a mild detergent. This will help soften the paint and make it easier to remove. Use a soft cloth or sponge to gently scrub the painted area.
Step 2: Apply the Paint Remover
If the paint doesn’t come off after washing, it’s time to use the paint remover. Apply it to the painted area following the manufacturer’s instructions. Remember to be cautious and avoid contact with skin and eyes.
Step 3: Repeat Scrubbing
After using the paint remover, scrub the bottle once more with the soft cloth or sponge. If the paint is still not coming off, don’t worry! Repeat the process until the paint is completely removed.
Step 4: Rinse and Dry
Once all the paint is removed, rinse the bottle thoroughly with warm water to ensure all chemical residues are washed off. Finally, dry the bottle completely before using it again.
And there you have it! By following these steps, you can breathe new life into your old water bottles. Remember, patience is key when removing paint. So, don’t rush the process; take your time to ensure the job is done right. Happy cleaning!
Method 1: Using a Magic Eraser to Remove Paint from a Water Bottle
Who knew a magic eraser could be such a lifesaver, right? Its versatility extends beyond cleaning walls and surfaces; it can also help you remove that unwanted paint from your water bottle. With a few simple steps, your bottle will be paint-free in no time.
What You’ll Need:
- Magic Eraser
- Warm Water
- Disposable Gloves
- Dry Cloth
Steps to Follow:
- First, dampen the Magic Eraser with warm water. It doesn’t need to be drenched; lightly wet will do just fine.
- With your gloves on, firmly but gently rub the Magic Eraser over the painted areas. The paint should start to fade.
- If the paint is stubborn, apply a bit more pressure. But remember, be patient. You don’t want to damage your bottle.
- Once the paint is removed, rinse the bottle thoroughly. It’s crucial to ensure no residue from the Magic Eraser is left behind.
- Finally, dry your bottle with a clean dry cloth. Voila! Your water bottle is as good as new.
Easy, isn’t it? With a Magic Eraser, a little bit of patience, and the right technique, you can say goodbye to unwanted paint on your water bottle.
Method 2: Using Baking Soda and Vinegar to Remove Paint from a Water Bottle
Are you ready for a DIY solution to remove paint from your water bottle? Nothing beats the classic combination of baking soda and vinegar. This all-natural method is non-toxic, effective, and most likely, you already have these ingredients in your kitchen.
Step 1: Gather the Necessary Materials
Before starting, you’ll need:
- Baking Soda (1/2 cup)
- White Vinegar (1 cup)
- A Brush or Sponge
- Warm Water
Step 2: Make a Baking Soda and Vinegar Solution
theCombine baking soda and vinegar in a bowl. Watch out for the fizz! It’s a natural reaction when these two ingredients mix. Wait until the fizz subsides before proceeding to the next step.
Step 3: Apply the Solution to the Painted Areas
Next, apply the baking soda and vinegar solution to the painted areas of your water bottle. Use a sponge or brush to gently scrub away the paint. Make sure to cover all painted areas with the solution for optimal results.
Step 4: Let the Solution Sit
Patience, my friend! Let the mixture sit on the painted areas for about 15-20 minutes. This allows the solution to penetrate and soften the paint.
Step 5: Rinse and Repeat
After the waiting period, rinse the bottle with warm water. If there’s still some stubborn paint, don’t worry. Simply repeat the process until all paint is removed.
Who knew that removing paint from a water bottle could be so simple, right? With this method, you can give your water bottle a fresh, clean look, and have some fun in the process. Remember, it’s not about perfection, but improvement. Happy scrubbing!
Method 3: Using Rubbing Alcohol to Remove Paint from a Water Bottle
Ever spilled paint on your favorite water bottle and thought it was ruined forever? Don’t worry, a simple household item like rubbing alcohol can come to your rescue. Here’s an easy step-by-step guide to get your water bottle looking brand new again!
Materials Needed
- Rubbing Alcohol
- Soft Cloth or Sponge
- Warm Water
Steps to Follow
- Prepare the Area: Start by laying out a cloth or newspaper to protect your work surface from any spills. You wouldn’t want to trade one mess for another, would you?
- Apply Rubbing Alcohol: Dampen a soft cloth or sponge with rubbing alcohol. This is your magic eraser for the paint.
- Scrub Gently: Use the alcohol-soaked cloth or sponge to gently rub the painted area on the bottle. Be patient, gentle and persistent. You’ll start to see the paint coming off.
- Rinse and Repeat: Rinse the bottle with warm water. If there is still some paint left, don’t despair. Repeat the process until all the paint is removed.
Remember, the key is to be persistent and patient. Not all paint types and layers are removed at the same speed. But with some determination, your water bottle will be paint-free in no time!
Note: It’s important to rinse the bottle thoroughly after using rubbing alcohol, to make sure no residue is left behind. Also, be sure to test the rubbing alcohol on a small, unnoticeable area of your bottle before applying it all over, just in case it reacts with the bottle’s material.
Method 4: Using Hot Water and Soap to Remove Paint from a Water Bottle
Have you ever considered using hot water and soap as a simple yet efficient method to remove paint from your water bottle? It’s a readily available and cost-effective solution that often goes overlooked. Let’s dive into how you can leverage this method to restore your water bottle to its original state.
Step 1: Gather Your Materials
Begin by assembling your tools. You’ll need:
- A large basin or sink
- Dish soap
- Hot water
- A scrub brush or sponge
Step 2: Fill the Basin with Hot Water
Fill your basin or sink with hot water, making sure there’s enough to completely submerge the water bottle. Be careful not to scald yourself with the hot water.
Step 3: Add Dish Soap
Add a few drops of dish soap to the hot water. The soap will help break down the paint, making it easier to scrub off.
Step 4: Soak the Water Bottle
Submerge your water bottle in the soapy water. Let it soak for at least an hour, but preferably overnight. This will allow the soap and hot water to penetrate the paint, loosening it from the surface of the bottle.
Step 5: Scrub the Bottle
After soaking, use a scrub brush or sponge to gently scrub the paint off the water bottle. If the paint doesn’t come off easily, you may need to let it soak a bit longer.
Step 6: Rinse and Dry
Once you’ve removed all the paint, rinse the water bottle thoroughly to ensure all soap residue is removed. Then, dry the bottle completely before using it again.
Remember, patience is key when using this method. It may take some time for the paint to loosen, but the end result will be a clean, paint-free water bottle. Isn’t it great when simple solutions can solve our problems?
Tips and Tricks for Removing Paint from a Water Bottle
When it comes to removing paint from your water bottle, there are certain tips and tricks that can make the process easier and more efficient. Let’s jump right into it.
Pick the Right Tools
First and foremost, getting the right tools for the job is crucial. This includes:
- Soft sponge: This will help you scrub off the paint without scratching your bottle.
- Paint scraper: A small, plastic one is preferable to avoid damaging the bottle.
- Soapy water: This will aid in loosening the paint.
- Acetone or nail polish remover: For stubborn paint spots.
Follow the Right Steps
Once you have your tools, follow these steps:
- Soak the painted area in soapy water for a few hours to loosen the paint.
- Use the soft sponge to gently scrub off the paint. If it doesn’t come off, proceed to the next step.
- Use the paint scraper carefully to remove the stubborn paint. Be careful not to scratch your bottle.
- For any remaining paint, apply a little acetone or nail polish remover, then scrub with the sponge again.
- Rinse thoroughly to make sure all the paint and cleaning products are removed.
Precautions to Take
While removing paint from your water bottle, it’s important to take some precautions:
- Always work in a well-ventilated area when using acetone or nail polish remover.
- Wear gloves to protect your hands.
- Never use metal scrapers or harsh abrasive materials on your water bottle.
Remember, patience is key. Some coats of paint may be tougher to remove than others, but with the right tools and procedure, you’ll have your water bottle looking as good as new in no time.
Prevent Paint from Sticking to Your Water Bottle Again
After successfully removing paint from your water bottle, you certainly don’t want to go through the process again, do you? Let’s prevent that from happening. Here are some effective ways to stop paint from sticking to your water bottle in the future.
Opt for a Paint-Resistant Material
The first step in the prevention process is choosing the right water bottle. Some materials are less likely to attract paint particles. Stainless steel, for instance, is a great option. Its smooth surface makes it difficult for paint to adhere, reducing your cleaning challenges significantly.
Use a Water Bottle Sleeve
Another wise approach is the use of a water bottle sleeve. These handy accessories can help keep paint at bay. Simply slip the sleeve onto your bottle before you start painting and voila, an extra layer of protection is established.
Maintain Safe Distance
Staying a safe distance away from paint is an obvious yet effective measure. When you’re painting, make sure your water bottle isn’t anywhere close to the action. This will dramatically decrease the chance of paint ending up on it.
Invest in a Quality Lid
Lastly, a high-quality, tight-fitting lid can be a game-changer. It not only keeps your liquids contained, but it can also prevent paint from making its way onto your bottle. It’s a small investment for a big return.
Remember: Prevention is always easier than cure. By following these tips, you can enjoy your painting activities without worry about paint splatters on your water bottle.
When to Seek Help from Professionals
ever found yourself in a situation where, despite all your efforts, removing paint from a water bottle becomes an uphill task? It’s an instance where you might need to consider seeking help from professionals.
Here are some signs that it’s time to call in the pros:
- When the paint simply won’t budge: Despite using all the recommended methods and materials, if the paint still adheres firmly to the water bottle, it might be time to consult a professional.
- When you’re dealing with toxic paint: Certain paints can be toxic, especially when they start to chip off. If you suspect the paint on your water bottle might contain harmful substances, don’t try to remove it by yourself. Let professionals handle it.
- When dealing with antique or expensive water bottles: If your water bottle is an antique or a high-priced item, you wouldn’t want to risk damaging it in the process of paint removal. It’s best to leave it to the experts in such cases.
Remember, while DIY methods are great for saving money and learning new skills, there’s no shame in seeking assistance when necessary. After all, professionals have the expertise, experience, and tools to deal with challenging situations.
When in doubt, it’s better to err on the side of caution and consult with a professional.
How to Find the Right Professionals
Finding the right professionals to help you with paint removal isn’t always a straightforward task. Here’s a quick guide to assist you:
- Research: Start by conducting a thorough online search. Look for professionals who specialize in paint removal in your area. Check their reviews and ratings.
- Ask for referrals: If any of your friends or family members have recently hired a professional for paint removal, ask them for referrals.
- Get a quote: Once you’ve shortlisted a few professionals, reach out to them for a quote. Compare the prices before making a final decision.
Remember, the goal is to remove the paint without damaging your water bottle. So, take your time to find a reliable professional who can ensure this.
Conclusion: Removing Paint from a Water Bottle
In conclusion, you’d be surprised how easy it is to remove paint from a water bottle. This process not only saves you money but also allows you to reuse and personalize your water bottle, contributing to a more sustainable lifestyle. Let’s recap the steps:
- Prepare your materials: Gather a scrub brush, baking soda, dish soap, and water.
- Create your cleaning solution: Mix equal parts of dish soap and baking soda with a bit of water to create a paste.
- Apply the paste: Apply the paste to the painted areas and let it sit for a few minutes.
- Scrub off the paint: Use your scrub brush to gently remove the paint. Repeat until all the paint is gone.
- Rinse and dry: Rinse off the solution and dry your water bottle thoroughly.
Navigating through this process might seem daunting initially, but once you’ve done it, you’ll realize how simple and rewarding it can be. Isn’t it great to know you can clean up and repurpose your old painted water bottle with just a few household ingredients?
Remember, safety comes first. Always wear gloves and work in a well-ventilated area while removing paint from your water bottle.
If you’re interested in more DIY cleaning hacks or sustainable living tips, stay tuned to our upcoming articles. Happy cleaning!


