What’s more frustrating than being thirsty, grabbing a water bottle, and realizing it’s your task to load it onto the dispenser without making a mess? This task can seem daunting, but fear not – it’s simpler than you think. In this article, we will guide you through the steps to put your water bottle onto the dispenser without spilling. So, let’s dive in and avoid any future water mishaps.
Remember, this is not a race – take your time, and safety should always be your first concern. Let’s get started!
Introduction: Why is it Important to Put Water Bottle on Dispenser Without Spilling?
Think about the times you have tried to fit a water bottle onto a dispenser and ended up creating a mini-flood. It’s not just about the mess, it’s also a waste of valuable resource. Correctly placing a water bottle on a dispenser is crucial to prevent water wastage and maintain a clean, dry surrounding. Plus, it saves you the trouble of mopping up the spill every time!
Water is precious. By avoiding spillage, you contribute to the conservation of water, even if it seems insignificant. Additionally, spilled water can pose a slipping hazard, particularly on hard floors, raising safety concerns. In offices, water leaks could damage equipment or important documents. In the home, it could spoil furniture or carpets. So, understanding how to put a water bottle on a dispenser without spilling is an essential skill.
Step-by-Step Guide: How to Put Water Bottle on Dispenser Without Spilling?
Are you tired of the mess and hassle that comes with replacing your water bottle on the dispenser? Don’t worry, we’ve got your back. Here’s a step-by-step guide on how to put your water bottle on the dispenser without spilling a drop.
Preparation
First and foremost, prepare the area around your water dispenser. Place some towels or rags to catch any potential spills. This step ensures that if any water does escape, it won’t create a large mess.
Check The Sealing Cap
Before you begin, ensure that the sealing cap on your water bottle is properly affixed. This cap is designed to prevent water from spilling during the replacement process. If it’s loose, tighten it.
Remove The Empty Bottle
Next, carefully remove the empty water bottle from your dispenser. To do this, securely grab the handle of the bottle and lift it straight up and off of the dispenser. Be sure to place the empty bottle aside safely to avoid any accidents.
Prepare The New Bottle
Now, prepare your new water bottle. Remove any safety seals or packaging but keep the main cap in place. This cap prevents water from spilling as you place the bottle onto the dispenser.
Place The New Bottle
Finally, it’s time to place the new bottle. Align the cap of the new bottle above the dispenser’s spout. Then, using both hands, quickly flip the bottle and place it onto the dispenser. The weight of the water bottle should force the cap open, and the water will begin to flow into the dispenser.
And there you have it! With these easy steps, you can replace your water bottle without the fuss of cleaning up a spill. So go ahead, give it a try, and enjoy the convenience and ease that comes with a spill-free water dispenser experience.
Choosing the Right Water Bottle and Dispenser: Factors to Consider
When it comes to selecting the perfect water bottle and dispenser for your needs, there are several key factors to consider. This journey isn’t just about picking the first option you see. It involves making thoughtful decisions that will help you avoid spillage when placing the water bottle on the dispenser.
Size of the Bottle and Dispenser
The first thing to look at is the size of your water bottle and dispenser. Yes, size matters, especially in this context. Large dispensers need large bottles, while smaller ones require smaller bottles.
Compatibility
Compatibility is another major factor. Some dispensers are specifically designed for certain types of bottles. Thus, ensure the bottle and dispenser you choose are a perfect match.
Material
Material is key as well. Both the bottle and dispenser should be made out of durable, safe, and easy-to-clean material. This will ensure longevity and maintain the quality of the water.
Ease of Installation
How easy is it to install the water bottle onto the dispenser? You’d want a setup that’s straightforward and hassle-free. If it’s too complicated, chances are you’ll spill water during the installation process.
Spill-Proof Features
Finally, consider whether the bottle and dispenser have any spill-proof features. These features, such as airtight seals or locks, can prevent leakage and make your process much smoother.
Remember, the goal is to get a water bottle and dispenser that give you a spill-free experience. Make sure your choices check off all these boxes before making a decision.
Common Mistakes When Putting Water Bottle on Dispenser
It’s fairly common to make a few mistakes when placing a water bottle on a dispenser. Let’s delve into these mistakes to ensure they don’t occur in your future endeavors.
1. Incomplete Draining of the Bottle Cap
One common mistake is not fully draining the bottle cap before mounting it on the dispenser. This can lead to water spillage, creating a mess around the dispenser. Ensure the cap is thoroughly drained before placing the bottle.
2. Hasty Bottle Placement
Another mistake users often make is placing the bottle too quickly on the dispenser. This hurried action can also lead to water spills. Remember, slow and steady wins the race. Take your time to mount the bottle correctly.
3. Not Checking for Bottle Leaks
You might overlook checking the bottle for any leaks before placing it on the dispenser. A leaking bottle can cause water to spill over time, even after you’ve placed it correctly. Always inspect the bottle before mounting it on the dispenser.
4. Incorrect Bottle Alignment
The bottle must be aligned correctly with the dispenser’s opening for proper placement. A misaligned bottle can cause water to spill out from the sides. Take a moment to align the bottle correctly before putting it on the dispenser.
In conclusion, avoiding these common mistakes can make the process of placing a water bottle on a dispenser smooth and spill-free. Make sure to keep these points in mind next time you’re tasked with this job.
Tips and Tricks: How to Put Water Bottle on Dispenser Without Spilling?
Mastering the art of placing a water bottle on a dispenser without spilling requires skill, but with a few tips and tricks, you’ll get the hang of it in no time. Let’s dive in!
Prepare Your Area
First and foremost, prepare your area. Keep a towel or absorbent cloth handy to quickly mop up any spills. This not only keeps your area clean but also prevents slipping accidents.
Check the Bottle Cap
Before you start, inspect the bottle cap. Ensure it’s intact without any cracks or damages. A broken cap might lead to water leakage during the transfer process.
Follow a Proper Lifting Technique
When lifting the bottle, use both hands and keep your back straight. This is not just about preventing spills, it’s also about protecting your back from potential injuries.
The Tilt and Place Method
Now, let’s get down to the main event. The key to a spill-free transfer is the tilt and place method. Here’s how it goes:
- Lift the bottle, keeping it as level as possible.
- Slowly tilt the bottle horizontally, positioning the neck over the dispenser.
- Once the neck is securely in the dispenser, gently tilt it upright.
This method minimizes the chances of spilling by reducing the required motion. It might take a few tries to perfect it, so don’t worry if you don’t get it right on the first go.
Practice Makes Perfect
Remember, practice makes perfect. So, don’t be discouraged if you spill a bit initially. It happens to everyone. Keep practicing your technique, and you’ll soon put a water bottle on a dispenser without spilling like a pro!
Benefits of Using a Water Bottle Dispenser
You might be wondering why you should even bother learning how to properly put a water bottle on a dispenser. Well, there are several benefits to using a water bottle dispenser that might just convince you.
Efficiency: Dispensers take away the hassle of constantly filling up your glass or bottle. With a water dispenser, you enjoy a continuous supply of water, saving you time and effort.
Hydration: Having readily available water encourages drinking. Frequent hydration is beneficial to your health, promoting better skin, digestion, and general well-being.
Safe Storage: Dispensers are designed to keep your water clean and safe. They prevent contamination, ensuring you’re drinking water that’s free from harmful substances.
Economy: By refilling a large water bottle and using a dispenser, you save money compared to buying individual bottled water. This practice is also more environmentally friendly.
Convenience: Water bottle dispensers can be used in various locations – homes, offices, schools, or event venues. They’re portable and easy to set up, providing accessible hydration wherever you are.
Now that you understand the benefits, let’s move on to the main event – how to put a water bottle on a dispenser without spilling. The task might seem daunting at first, but with careful steps and practice, you’ll be a pro in no time.
Maintenance and Cleaning of Water Bottle Dispenser
Before you even consider loading a water bottle onto a dispenser, it’s imperative that you maintain and clean your dispenser regularly. This ensures the purity of your water and enhances the longevity of your dispenser.
Maintenance
- Regular Checkups: Inspect your water dispenser every week to ensure it’s working properly. Check for signs of wear and tear, particularly on the spout and handle.
- Replace Parts: If you identify damaged parts, replace them immediately. This ensures the functionality of your dispenser and prevents potential water wastage.
- Keep it Dry: Always wipe the exterior of the dispenser dry. This prevents the growth of mold and mildew which can contribute to the deterioration of your dispenser.
Cleaning
- Frequency: Clean your water dispenser every six to eight weeks. More frequent cleaning might be necessary depending on use and location.
- Disassemble: Remove all removable parts of the dispenser for thorough cleaning. This includes the drip tray and spout.
- Use Mild Detergent: A mild, non-abrasive detergent is ideal for cleaning your dispenser parts. Rinse thoroughly to remove all detergent residues.
- Sanitize: After cleaning, sanitize all parts using a solution of one gallon of water and a teaspoon of unscented bleach. Rinse again thoroughly.
- Dry: Let all parts air dry before reassembling your water dispenser.
Following these maintenance and cleaning steps will ensure your water dispenser stays in prime condition, providing you with clean, fresh water every time you need to quench your thirst.
Frequently Asked Questions about Putting Water Bottle on Dispenser
Getting a water bottle onto a dispenser without spilling can be a tricky task. However, with the right technique and a little bit of practice, you can do it flawlessly every time. Here are some of the most frequently asked questions about this process.
What is the right technique to put a water bottle on a dispenser without spilling?
The best way to put a water bottle on a dispenser without spilling is to quickly flip the bottle upside down and place it onto the dispenser. The key is to do this in one swift motion. The faster you flip the bottle, the less water will spill out.
Do I need any special tools to put a water bottle on a dispenser?
No, you do not need any special tools to put a water bottle on a dispenser. However, having a towel nearby to quickly clean up any spills is always a good idea.
Can I prevent water from spilling when putting a bottle on a dispenser?
While it’s hard to completely prevent water from spilling when putting a bottle on a dispenser, using the right technique can greatly minimize the amount of water that spills out. The key is to quickly flip the bottle upside down and place it onto the dispenser.
What if the water bottle is too heavy to lift?
If the water bottle is too heavy to lift, you may want to consider using a smaller bottle. Alternatively, you can ask someone for help or use a tool like a dolly to help you lift and move the bottle.
Is there a risk of damaging the dispenser while putting the water bottle on?
There is a small risk of damaging the dispenser if you are not careful while putting the water bottle on. Always ensure that you are placing the bottle straight onto the dispenser and not at an angle. This will help prevent any potential damage to the dispenser.
Alternative Methods to Put Water Bottle on Dispenser Without Spilling
Ever wished you could place your water bottle on the dispenser without creating a mini flood? There are alternative ways to do just that, and we’ve compiled them for you. These methods are not only effective, but also quite easy to follow. Let’s dive right in.
Avoid Lifting the Bottle Completely
If the idea of hoisting a full water bottle gives you nightmares, there’s a workaround. You don’t have to lift the bottle completely off the ground. Here’s how you do it:
- Place your dispenser at the edge of a table or counter.
- Position the water bottle on its side on the table, with the spout facing the dispenser.
- Gently slide the water bottle until the spout enters the dispenser, then gradually tip the bottle upright.
Use a Bottle with a Handle
Another alternative method is to use a bottle that has a handle. This will give you more control over the bottle and reduce the risk of spilling. Just grip the handle firmly and carefully put the bottle on the dispenser.
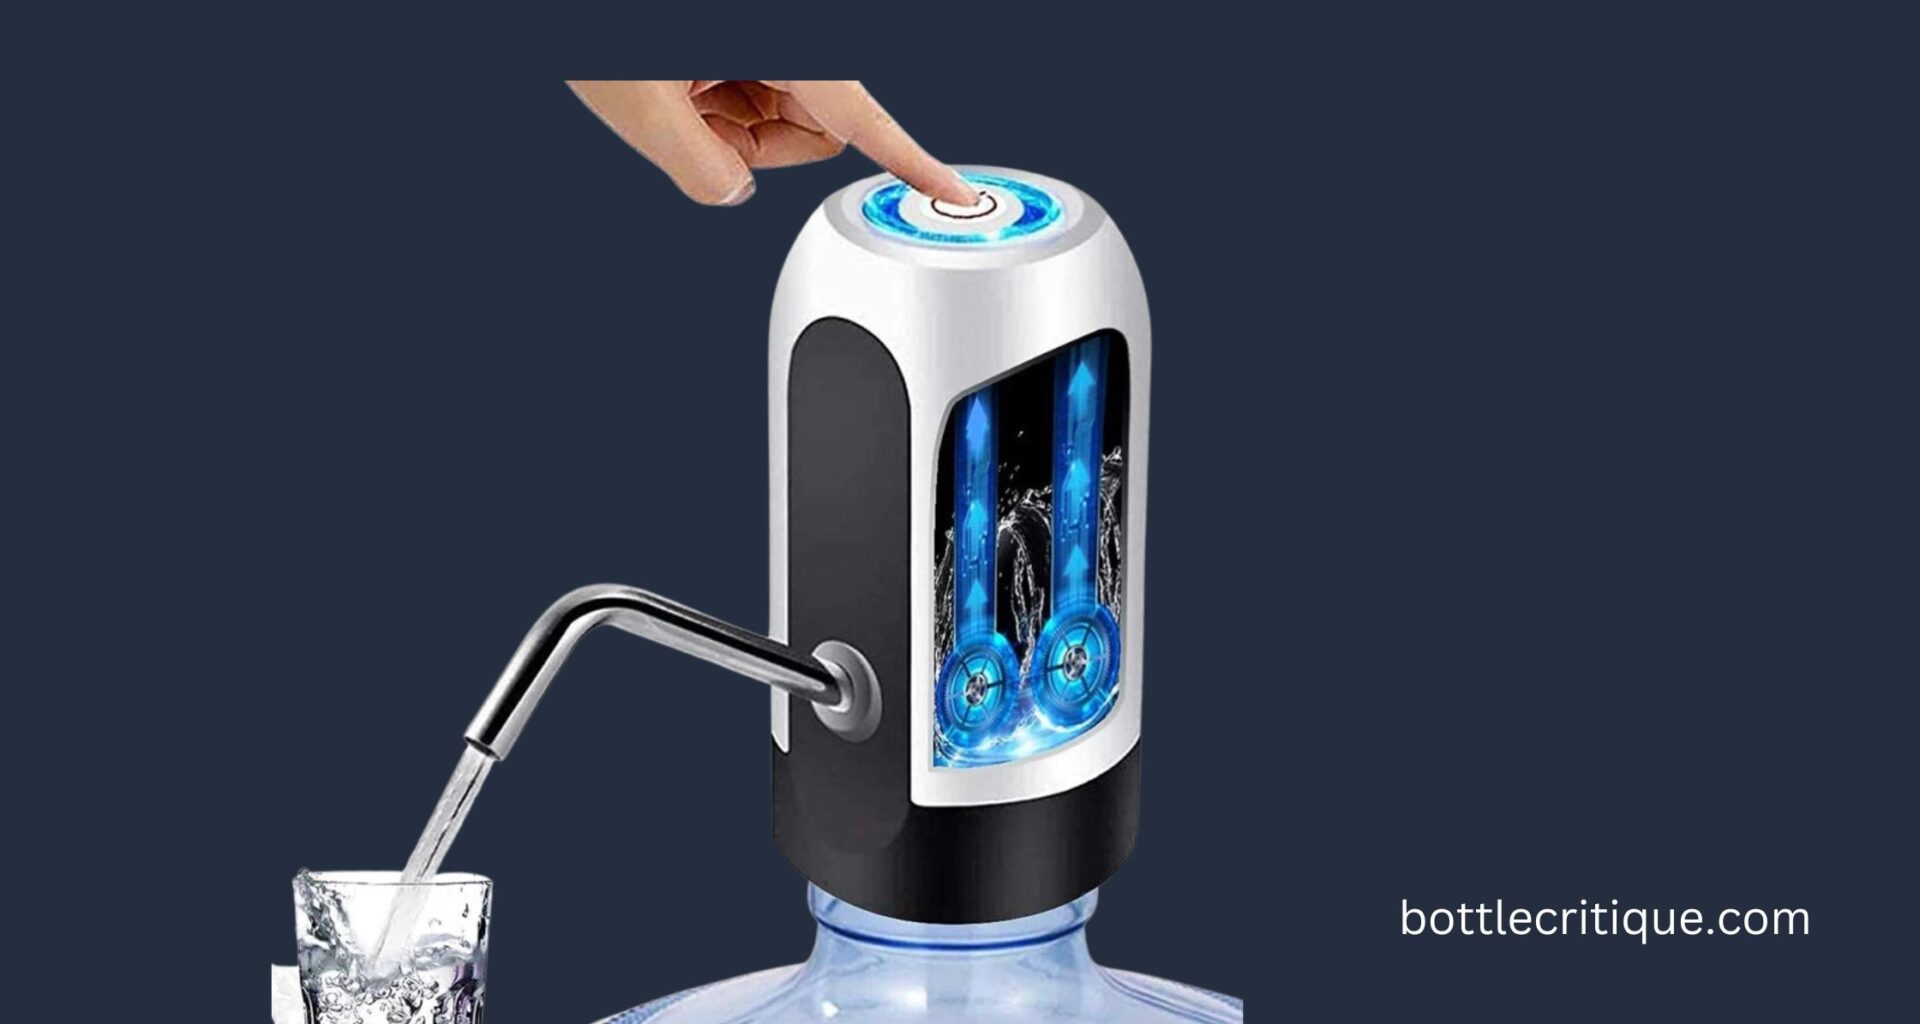
Utilize a Water Bottle Pump
A water bottle pump can be a real game changer. It’s a device that you attach to the top of your water bottle, and it pumps the water directly into your dispenser. Not a drop spilled.
Involve a Second Person
If all else fails, seek help. With a second person, one can hold the dispenser steady while the other positions the water bottle. This lessens the chance of spills and allows for a smoother process.
In conclusion, you don’t have to settle for spills every time you replace your water dispenser bottle. Try these alternative methods and discover the one that works best for you.
Conclusion: Putting Water Bottle on Dispenser Without Spilling is Easy with These Tips
After following the steps and tips provided, you should now be able to put a water bottle on a dispenser without spilling a single drop. Remember, it’s all about the technique and practice makes perfect.
Do not be disheartened if you spill some water during your initial attempts, even seasoned pros had to start somewhere. Stick to the step-by-step guide, and soon you’ll be refilling your water dispenser like a pro.
Let’s recap the key points:
- Prepare your workspace: Make sure the area around your water dispenser is clean and dry. This not only prevents slipping hazards but also makes the process easier.
- Remove the seal carefully: Don’t rush this step. Use a sharp object if necessary but be careful not to puncture the bottle itself.
- Use two hands: Always use both hands when lifting and placing the bottle on the dispenser. This gives you better control and minimizes the risk of spilling.
- Quick flip: The quicker you flip the bottle, the less chance there is for water to spill.
By employing these techniques, you’ll find that putting a water bottle on a dispenser without spilling is indeed easy. Remember, confidence is key. Once you have mastered this skill, you’ll wonder why you ever found it challenging in the first place.
“Choose to see every obstacle as an opportunity to improve”
So, embrace this challenge as an opportunity to learn a new skill. Next time you need to replace the water bottle in your dispenser, you’ll be ready and capable. Stick with it, practice regularly, and you’ll soon be a water dispenser pro.