Keeping your water bottle decorated with stickers is a fun way to express your individuality. But how do you make sure those stickers stay put, especially when the bottle is subjected to constant use, washes, and the occasional tumble?
Well, you’re in luck! Because whether your water bottle is your trusty gym companion or your desk-side hydration reminder, we’ve got the tricks to keep your stickers stuck, vibrant, and long-lasting. So tighten your grip, let’s dive in!
“Sticking stickers is easy, but making them stay? That’s where the fun begins!”
Trust us, you don’t have to be a craft guru to get this right. Just a little patience, the right tools, and a pinch of creativity is all it takes. So hang tight, and let’s get started!
Introduction: Why stickers on a water bottle?
Ever wondered why you see so many water bottles adorned with a diverse array of stickers? The answer is simple: it’s a fantastic way to express your personality and interests! From your favorite bands to political causes you support, stickers let your water bottle tell a story about you.
But, there’s something else too. A stickered water bottle can be an ice-breaker, a conversation starter. It piques curiosity, encourages interaction, and can even spark new friendships. Amazing, isn’t it, how a simple sticker can do all that!
But, you may ask, how do I keep those lovely stickers firmly attached to my bottle, enduring through washes, travels, and daily use? Well, that’s exactly what we’re here to explore. So, strap in, and let’s turn your water bottle into a stickered masterpiece that lasts!
The Perfect Water Bottle Material for Stickers
Let’s chat about water bottles and stickers, a match made in heaven. The material of your water bottle plays a significant role in the sticker adhesion process. Not all surfaces are created equal, folks!
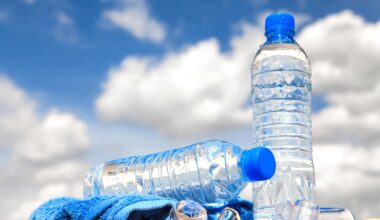
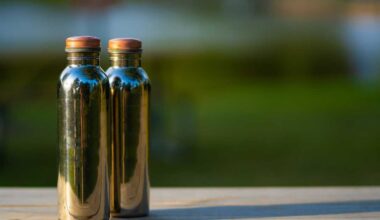
Stainless steel and hard plastic take center stage in the sticker-friendly material lineup. They provide a smooth, non-porous surface for your stickers to stick around for the long haul. So, if you’re a fan of longevity, these materials should be your go-to.
Pro Tip: Avoid using stickers on insulated bottles, as the constant change in temperature can weaken the adhesive over time.
On the flip side, textured or rubberized bottles can be a bit tricky. Stickers might struggle to get a grip and could start peeling off sooner than you’d like. But don’t let that discourage you; with the right steps, even these bottles can join the sticker party!
Sticker Success on Textured Surfaces
It’s all about the prep work when it comes to textured surfaces. Here’s the game plan:
- Start by cleaning the surface of your bottle. A bit of mild soap and warm water will do the trick.
- Make sure the surface is completely dry before applying the sticker. Patience is a virtue here!
- Press the sticker onto the bottle, smoothing it out from the center towards the edges. Use a bit of force; don’t worry, the sticker can take it!
With these tips, your stickers will be sipping H20 in style. It’s all about picking the right bottle material and prepping the surface properly. Happy stickering!
Why do stickers fall off water bottles?
Let’s get to the bottom of this sticky situation, shall we? You attach a sticker to your water bottle, and it looks fantastic. But then, just after a few days or a week, tragedy strikes! The sticker starts to peel off. Why does this happen?
Well, the culprit is often water itself. Yes, the very same water that hydrates you, also sabotages your style. The adhesive on many stickers isn’t water-resistant, so when your bottle sweats or gets wet, the sticker starts to lose its grip.
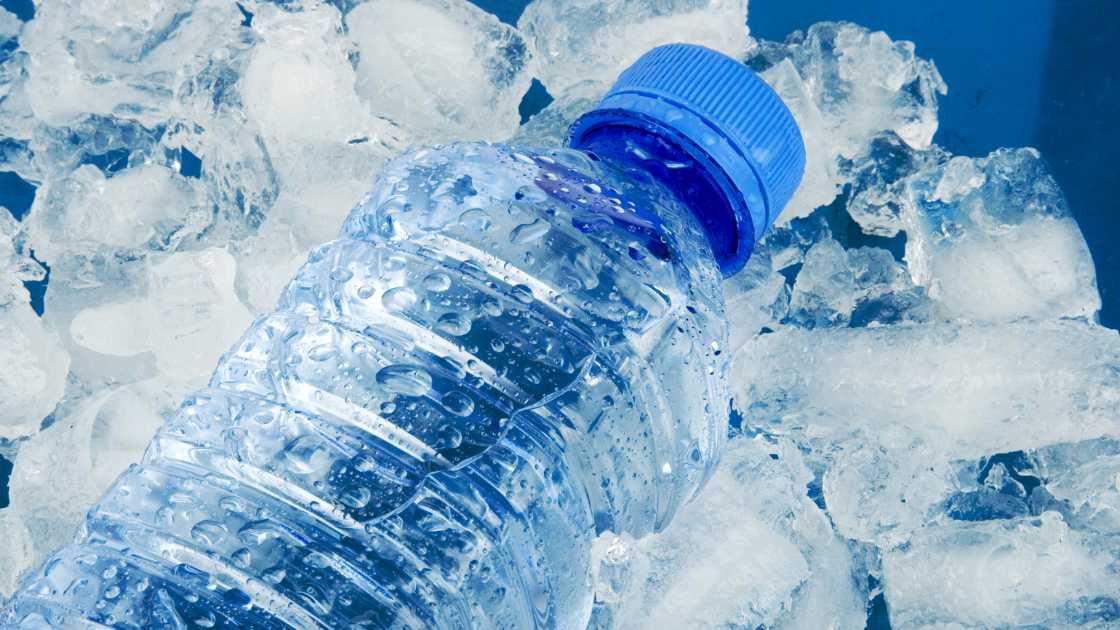
But don’t start pointing fingers at water just yet. There’s another offender in this case – temperature. Both hot and cold conditions can weaken the adhesive. A hot day, direct sunlight, or even the dishwasher can turn your cool sticker into a droopy disappointment. On the flip side, cold temperatures can make the sticker brittle and prone to cracking.
Finally, let’s not forget about surface texture. A rough or uneven surface can be a tough challenge for a sticker. It’s like trying to walk in high heels on a rocky path – you won’t get far without stumbling! And if the surface is dirty or oily, it can interfere with the adhesive bonding.
So, it’s a combination of factors – water, temperature, and surface texture – that can lead to the downfall of your sticker. But fear not, dear reader. With the right techniques, you can keep your stickers firmly attached to your water bottle. Read on to find out how!
What kind of stickers are best for water bottles?
So, you’re on a quest to find the ultimate water bottle sticker, huh? Well, you’re in luck! Let’s dive deep into the vibrant world of stickers and explore which types are the best fit for your hydration companion.
Vinyl Stickers: These bad boys are the crème de la crème of the sticker world. Made from plastic material, vinyl stickers are waterproof, durable, and they shine like a rockstar on your water bottle. They laugh in the face of dishwashers!
Die-cut Stickers: Want a sticker that marches to the beat of its own drum? Then, meet your match with die-cut stickers. They come in assorted shapes and sizes, and their intricate design adds panache to your water bottle.
Glossy Stickers: Who doesn’t like a little sparkle, right? Glossy stickers add a smooth, shiny finish to your water bottle, making it just as eye-catching as your personality.
Matte Stickers: If subtlety is your thing, matte stickers are the way to go. They offer a sleek, muted look without the shine. But don’t be fooled, they still pack a punch in the style department.
Now, don’t forget to consider the sticker’s adhesive quality, because nobody wants a sticker that falls off faster than a cat caught climbing the curtains. A strong adhesive ensures your sticker will stick around through thick and thin (or, let’s say, through fill-ups and washes).
So, there you have it, folks – a whistle-stop tour of the best stickers for your water bottle. Happy stickering!
Can I use regular stickers on water bottles?
Well, my dearest sticker enthusiasts, I hate to be the bearer of bad news, but regular stickers? They’re just not cut out for the water bottle lifestyle. It’s like asking a cat to swim—it’s possible, but it’s not going to be pretty.
Why, you ask? Regular stickers, bless their hearts, are simply not designed to withstand constant humidity and temperature changes. Their adhesive can’t cling onto the surface of our beloved water bottles when faced with such adversity.
But don’t fret, dear reader! This doesn’t mean all hope is lost. We still have a solution at hand: waterproof stickers. These little troopers are designed specifically to handle any splash or spill thrown their way.
Switching to Waterproof Stickers
Waterproof stickers are the superheroes of the sticker world. These are not your average, run-of-the-mill stickers. No, they come with a powerful adhesive that allows them to strongly bond with the surface, laughing in the face of moisture and temperature changes.
With these durable companions, you can safely hydrate without fear of your sticker decor peeling away. So let’s say it together now: “All hail the waterproof stickers!”
Application Tips
- Before you start, ensure your water bottle is clean and dry.
- Once the surface is prepared, gently peel your waterproof sticker from its backing.
- Carefully place the sticker onto the bottle, smoothing it out to remove any air bubbles.
- Remember, patience is key! Take your time for the perfect application.
By switching to waterproof stickers and using these tips, your water bottle will be the envy of all. Happy hydrating, my sticker-loving friends!
How do I prepare a water bottle surface for stickers?
Just like you wouldn’t slap a fresh coat of paint on a dirty wall, you don’t want to stick your precious stickers on a grimy water bottle. So, let’s start with a sparkling clean canvas, shall we?
First, wash your water bottle thoroughly. Use warm, soapy water and give it a good scrub inside and out. Rinse it well and let it dry completely. Remember, we’re after a pristine surface here, folks.
Pro-tip: Avoid using harsh cleaners or abrasives. They could damage the surface of your bottle and make it less sticker-friendly. Stick with good old soap and water – it’s a DIYer’s best friend!
Key steps to preparing your water bottle
- Scrub the exterior of your water bottle with warm soapy water.
- Rinse thoroughly to remove any soap residue.
- Pat dry with a lint-free cloth or let it air dry.
Extra credit: After your bottle is clean and dry, you might want to give it a once-over with some rubbing alcohol. This will remove any remaining oils or residue and ensure that your stickers stick like they’re supposed to.
Remember, a clean and dry surface is a sticker’s best friend!
What can I use to seal stickers on water bottles?
Alright, let’s dive into the world of stickers and water bottles. We all want our stickers to stay as fabulous as they were on day one, right? Whether you’re an avid water drinker or just want to jazz up your hydration routine, I’ve got you covered.
First up, there’s the good ol’ clear nail polish. A light coat over your sticker can do wonders in keeping it intact. Plus, it gives a nice glossy finish. Just be sure to let it dry completely before using your bottle.
Next, we have mod podge sealant. This is a versatile tool in the craft world and can also be used to seal stickers. Simply apply it over your sticker and let it dry for a few hours. It’s water-resistant and dries clear, so no worries about it affecting your sticker’s appearance.
- Clear packing tape: This is a great budget-friendly option. Cut a piece of tape that’s slightly larger than your sticker, stick it on, and voila! Your sticker is sealed against water.
- Acrylic sealer spray: This is a quick and easy option. Just spray it on, let it dry, and your sticker is ready to face any water splashes. Make sure to use it in a well-ventilated area though.
One thing to remember – always make sure to clean your water bottle thoroughly and let it dry before applying the sealant. A clean, dry surface will help the sealant adhere better.
So there you have it, folks! With these tips, your stickers will be sticking around (pun intended) on your water bottle for a long time. Happy hydrating!
How long do stickers usually last on water bottles?
Who doesn’t love a good sticker-adorned water bottle, right? But, how long do these colorful companions last? Well, the lifespan of your sticker depends on a few things.
Quality of Sticker: Not all stickers are created equal. If you’ve invested in a high-quality, waterproof sticker, it could last up to 3-5 years. That’s longer than some relationships!
Type of Water Bottle: The surface of your water bottle can also impact sticker longevity. Smooth, non-textured surfaces are sticker-friendly, helping them stick around longer.
Care and Handling: How you treat your water bottle also plays a part. If it’s frequently tossed into a bag or dropped, your stickers may not last as long.
Remember, your stickers are like your friends – treat them well, and they’ll stick with you for a long time.
- Waterproof stickers can withstand your dishwasher’s fury, making them a great choice.
- Vinyl stickers are another durable option. Their plastic-like coating makes them resilient in the face of adversity (or water).
Finally, application matters too. For a longer-lasting sticker, apply it to a clean, dry surface and smooth out any air bubbles. Voila! You’ve just extended your sticker’s lease on life.
Can I put water bottles with stickers in the dishwasher?
Picture this: your water bottle, adorned with the coolest stickers, is dirty and needs a thorough cleaning. But hold on – can it brave the high heat and vigorous spray of a dishwasher? Let’s dive into that.
Truth be told, not all stickers are dishwasher safe. High heat and water can cause some stickers to peel, fade, or even disintegrate. So, if you’re not sure about the durability of your stickers, it’s best to hand-wash your water bottle to keep its sticker swag intact.
However, not all hope is lost!
There are indeed dishwasher-safe stickers that can withstand the rigors of your dishwasher’s most intense cycle. These stickers are typically made from vinyl, a material known for its impressive durability and water resistance.
- So, here’s the quick rundown:
- 1. If you’re unsure whether your stickers can endure the dishwasher, opt for hand-washing.
- 2. If your stickers are confirmed dishwasher-safe (most likely vinyl), feel free to pop your water bottle into the dishwasher.
Remember, keeping your water bottle clean is as important as keeping your stickers vibrant. So, choose your stickers wisely and treat them with care.
How do I remove stickers from water bottles?
Oh, the sticker saga! Let’s talk about how to address those stubborn leftovers. Whether it’s a pesky price tag or a cherished decal that’s seen better days, removing stickers from your water bottle can be a bit of a challenge. But don’t worry, with a few household items and a touch of patience, we’ll have your water bottle sticker-free in no time.
Step-by-step Sticker Removal
- Peel off what you can: First, try to remove as much of the sticker as possible manually. Take it slow and steady to avoid leaving too much residue behind.
- Soak in warm, soapy water: Fill your water bottle with warm water and a squirt of dish soap. Let it soak for 15-30 minutes. This should loosen the adhesive and make it easier to remove.
- Scrub away: Using a non-abrasive scrubber, gently scrub the sticker residue. Be careful not to scratch the surface of your water bottle.
- Oil it up: If there’s still some residue left, a little bit of cooking oil or a product like Goo Gone can work wonders. Apply, let sit for a few minutes, then wipe away.
- Rinse and dry: Rinse your water bottle thoroughly to remove any soap or oil and dry it well before using.
Note: Always test a small, inconspicuous area first when using any kind of cleaning product. That way, if there’s any adverse reaction, your precious water bottle won’t be ruined.
Remember, sticker removal is a delicate operation. Patience is key!
Are there any special considerations for using stickers on insulated water bottles?
Well, folks, let’s spill the tea. Insulated water bottles, with their double walls, present a slightly unique challenge for sticker enthusiasts. The good news? No need to fret, it’s not an insurmountable obstacle!
Temperature Fluctuations: Your insulated bottle is designed to handle hot and cold like a pro, but these temperature swings can affect your stickers. Heat can cause some adhesives to weaken, while cold can make them brittle. Choose a sticker made with weather-resistant adhesive, and you’ll be sipping pretty.
Surface Material: Most insulated bottles are made of stainless steel, which can be a slick surface for stickers. Ensure the surface is clean and dry before applying your sticker, giving it the best chance to stick around for the long haul.
Pro Tip: Use a hairdryer on a low setting to gently heat the sticker after application. This helps the adhesive bond better with the surface of your bottle. But remember, too much heat can be counterproductive!
What about condensation?
Ah, the old condensation conundrum. If you’re using your insulated bottle for cold beverages, you may notice it doesn’t sweat like non-insulated bottles. That’s a plus for sticker longevity! But if your sticker is already in place and you fill your bottle with a hot beverage, you might get some condensation. In general, waterproof stickers are your best bet here.
There you have it! With these considerations in mind, personalizing your insulated bottle with stickers can be a fun, funky, and functional endeavor. So go ahead, give your water bottle some pizzazz!
Can I use nail polish to keep stickers on water bottles?
Well, hello there, sticker lovers! You’ve asked a million-dollar question – Can you use nail polish to keep stickers on your water bottles? The answer is a resounding, drum-roll-worthy, Yes! Nail polish, particularly the clear kind, can indeed act as a protective coat for your precious stickers. But before you rush off to raid your manicure drawer, let’s dive a bit deeper.
Steps for Using Nail Polish on Stickers
- Start Clean: First, make sure your water bottle is as clean as a whistle. You don’t want any grime or dirt getting in the way of your sticker masterpiece, do you?
- Sticker Time: Apply your chosen sticker carefully on the bottle. Smooth it out to ensure there are no bubbles or creases. It’s all in the details!
- Nail Polish Finale: Now, paint a thin layer of clear nail polish over the sticker, extending a little beyond its edges. Let it dry completely before you give it a second coat. Patience, my friends!
Voila! That’s how you can use nail polish to keep those amazing stickers intact on your water bottle. It’s practically like giving them a shiny armor for protection. But, remember, not all stickers are the same, and results could vary based on the sticker quality and the type of nail polish you use.
Alternatives to Nail Polish
While nail polish is a handy hack, it’s not the only solution. For those of you looking for alternatives, we’ve got you covered:
- Decoupage Medium: This fancy term is just a special glue used in crafting. It goes on white but dries clear, giving your stickers a nice glossy finish.
- Sealant Spray: A clear acrylic sealant spray can also do the trick. It’s easy to apply and offers a durable finish, but make sure you do it in a well-ventilated area!
In conclusion, nail polish can indeed be a sticker’s best friend, providing a protective, shiny layer that helps it stay put on your water bottle. Of course, don’t forget, the real magic lies in your creativity. Happy stickering!
Conclusion
And there you have it, folks! We’ve dived deep into the world of sticker-adorned water bottles, and boy, what a ride it’s been. We’ve uncovered the secrets to ensuring those vibrant, lovable pieces of adhesive art stay put, even amidst daily usage and regular washing.
Let’s do a quick recap, shall we?
- Begin with a clean, dry surface. No debris, no dust, no compromise!
- Choose high-quality stickers. Yes, the one with funky designs and superior stickiness.
- Placement is key. Take your time, find the perfect spot, and smooth it out.
- Sealing the deal. A protective coating can be your sticker’s best friend, promising longevity and durability.
Remember, every sticker tells a story. It’s not just about keeping them stuck on your water bottle; it’s about preserving moments, memories, and a splash of your personality.
So go ahead, let your water bottle be your canvas and your stickers, the colours of your soul!
A Final Note
Water bottles with stickers are more than just water vessels; they’re an extension of you. The time and effort you put in to keep those stickers in place is a testament to your creativity and personal flair. So, let them shine, let them stick around, and most importantly, let them speak your story.